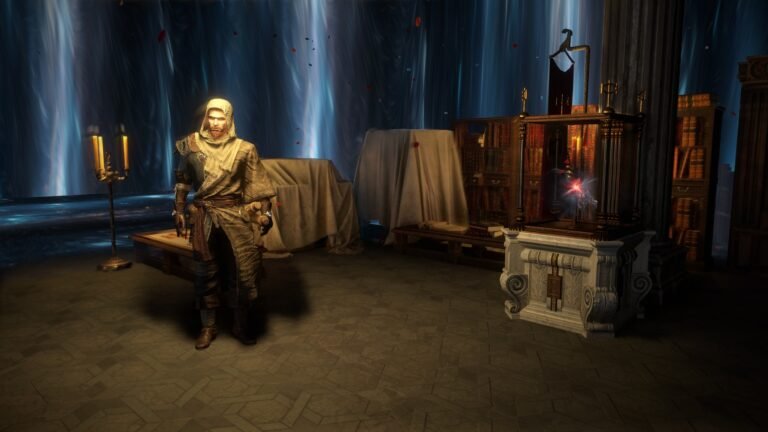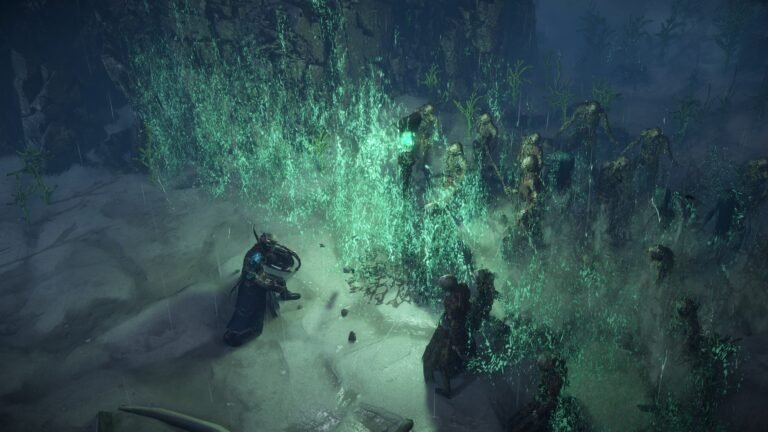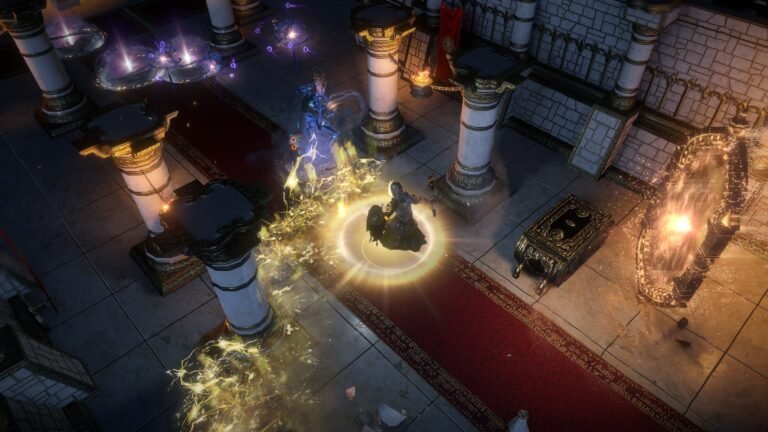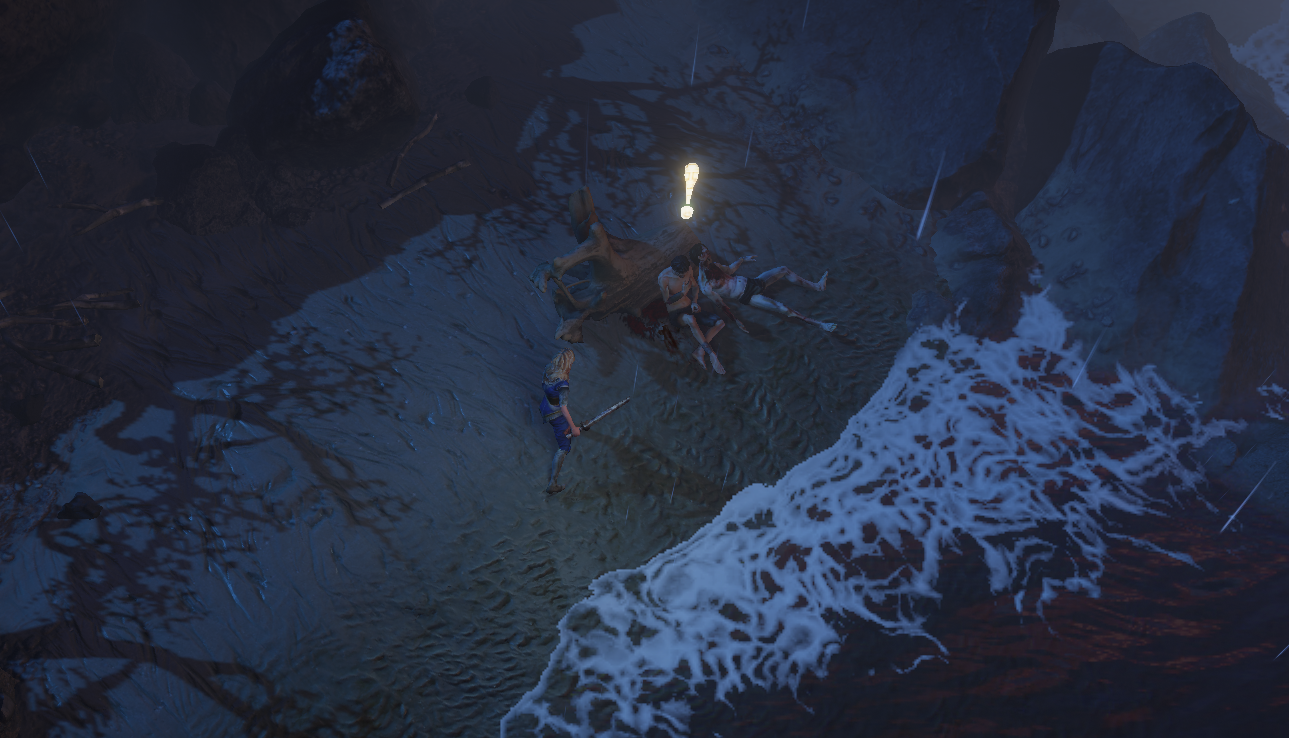
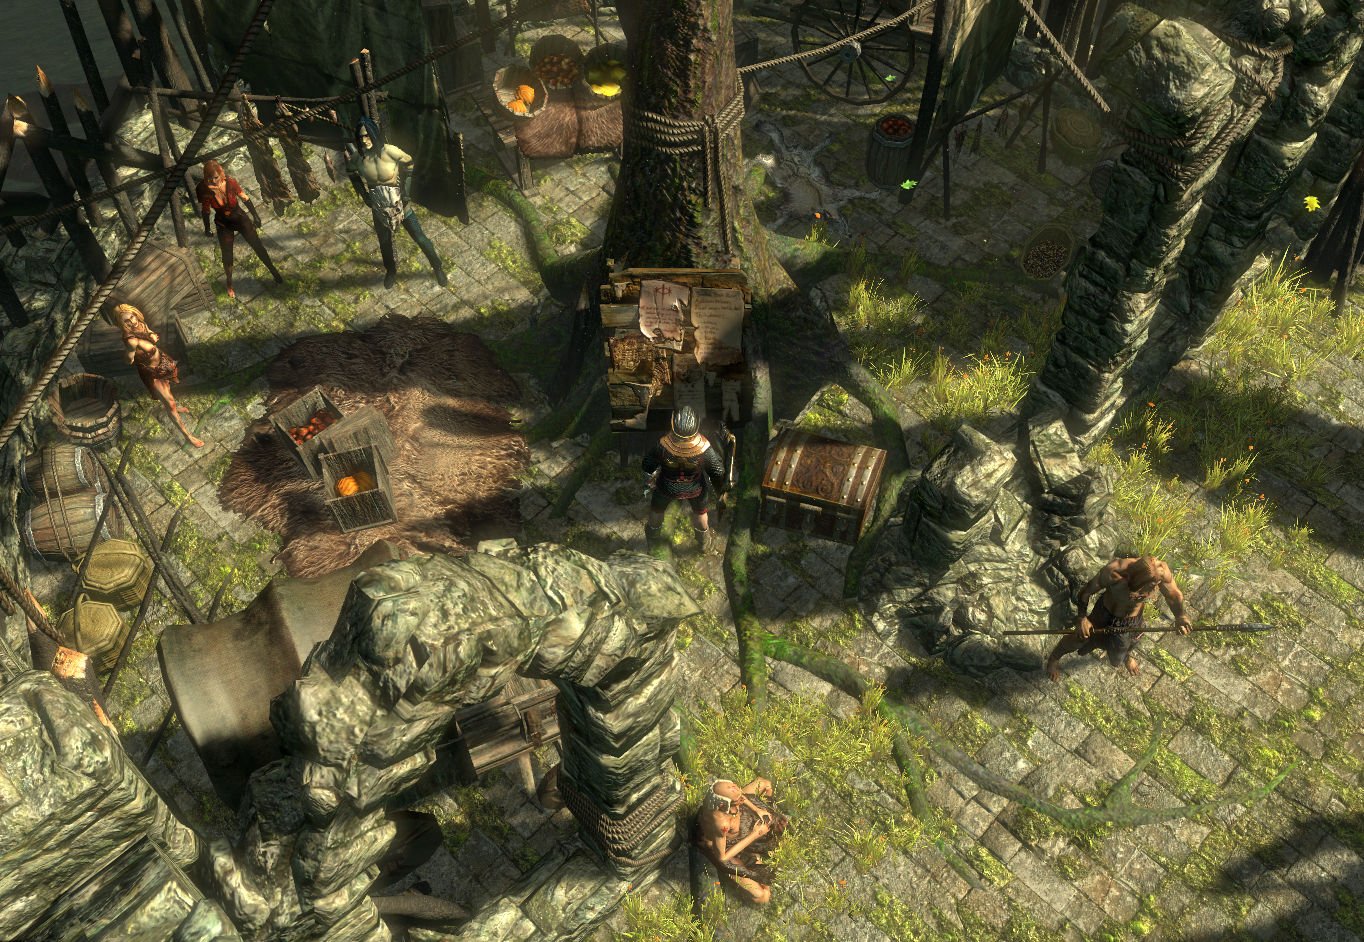
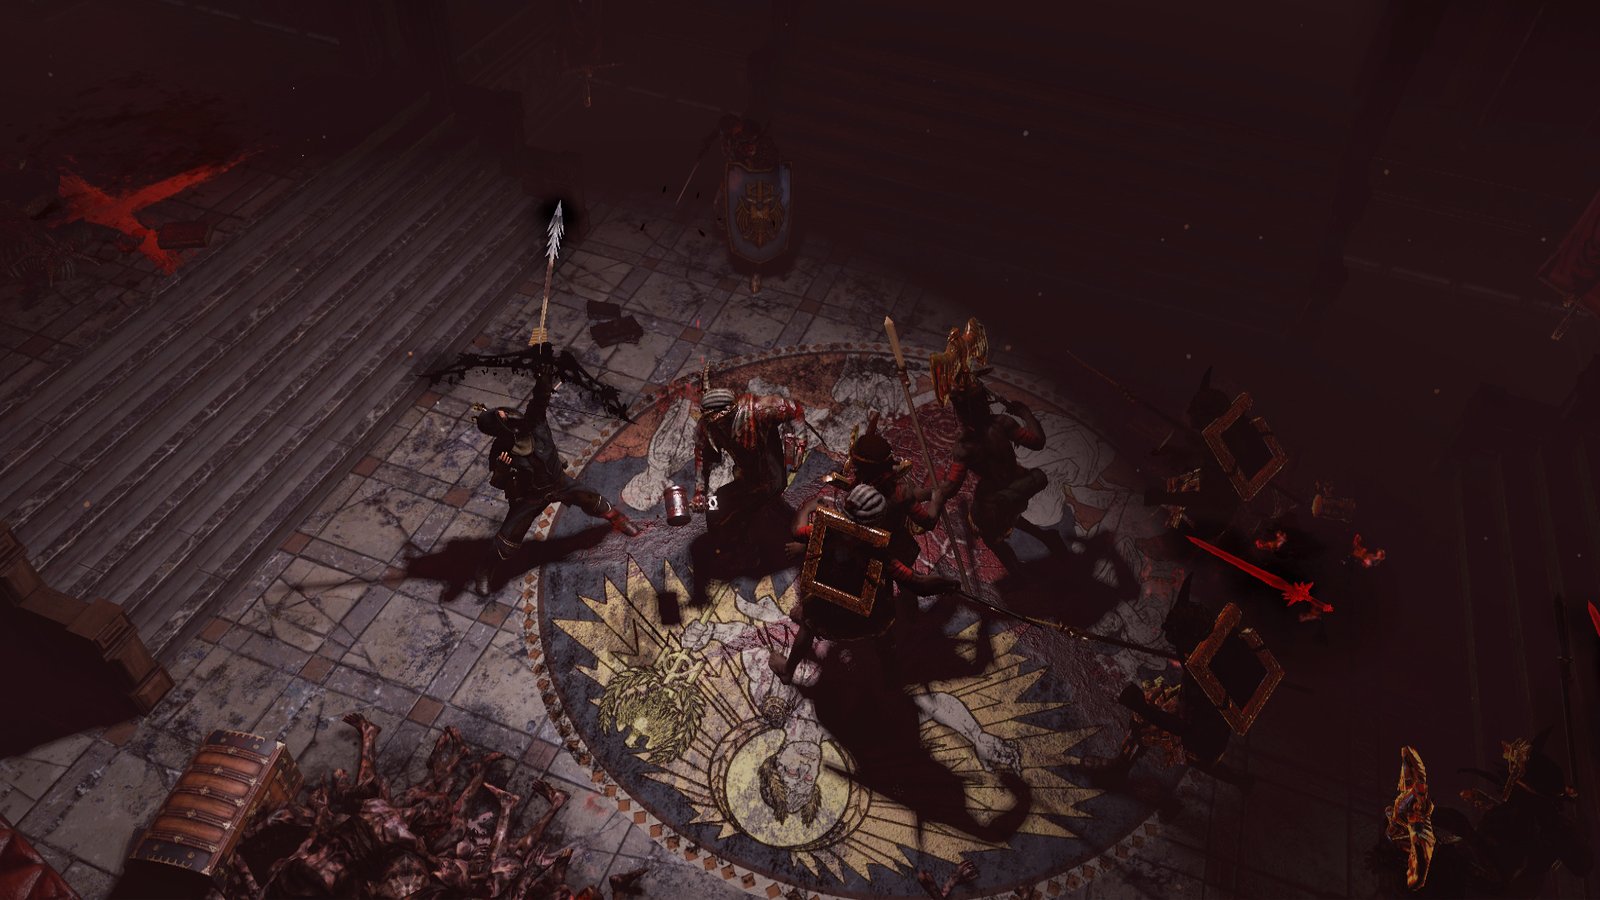
Path of Exile (2013): personagem diante do Dying Exile na Twilight Strand, a praia onde começa a campanha. Captura documental de gameplay preservada na PoEWiki; jogo e arte: Grinding Gear Games. Registro anterior à 3.29.
You begin on Twilight Strand, fight Hillock, and reach town. To finish the Path of Exile campaign, you don’t have to master every system: you need a coherent build, the objectives that unlock the next areas, and the permanent rewards. This guide covers Acts 1–10, with or without Exile-UI, an optional tool that displays the route over the game screen.
Revised October 24, 2026. This guide covers Path of Exile 1, version 3.29 — Curse of the Allflame, in the regular campaign, not PoE 2 or Ruthless. Check the 3.29 patch notes and subsequent updates, including 3.29.3b. Version 3.30 was announced for November 13, 2026 (PST); it had not launched at the time of this revision.
Nesta matéria
Creating your first character
The seven base classes are Marauder, Ranger, Witch, Duelist, Templar, Shadow, and Scion. They start at different positions on the passive tree and have their own Ascendancies, but aren’t restricted to a single skill type. Your build combines class, specialization, passives, gems, and gear. In 3.29, Scion is available to every account without the former Act 3 unlock, and received the Luminary Ascendancy.
You can experiment with a build of your own. For more predictable progression, look for a 3.29-compatible league starter with a step-by-step passive tree, leveling gems, accessible gear, and an explanation of defenses. An endgame-only PoB may require items and levels you don’t have yet: check how to begin and when to switch skills.
Challenge league or Standard: a temporary league starts its own progression and economy; Standard offers continuity. Not every seasonal mechanic automatically enters Standard. Curse of the Allflame is the current league as of this revision; you don’t need to complete all its encounters or hire mercenaries to follow the campaign route.
Softcore, Hardcore, and SSF: regular play allows you to continue after dying, subject to progression penalties. Hardcore changes the consequences of death; Solo Self-Found disables trading and partying. In Hardcore Curse of the Allflame, death transfers the character into the non-Hardcore version of that same league under the 3.29 notes; don’t generalize that destination to every mode. For more about the game, see our history and evolution of Path of Exile.
The essential systems for starting the campaign
Gems and links: Skill Gems grant abilities. Support Gems modify compatible skills when their sockets are connected by links. Having a skill and two supports in the same item isn’t enough if they aren’t linked, or if a support doesn’t work with that skill. Check level and attribute requirements too.
In 3.29, any gem fits any socket regardless of color. A red, green, or blue gem gets +10% quality in a socket of the matching color; in another color it remains usable without the bonus. Ordinary sockets are white by default. This makes builds easier to assemble, but doesn’t remove links, compatibility, or requirements.
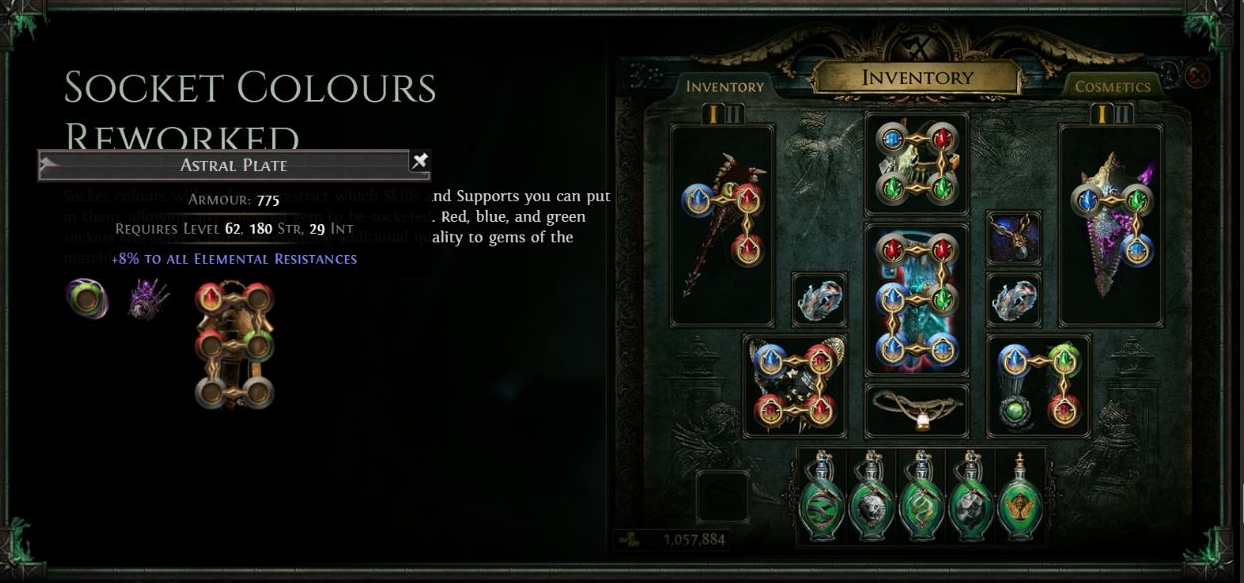
Passives and gear: follow paths that support your damage type and defenses. A rare item with many modifiers—or just one—isn’t automatically an upgrade: compare life, resistances, attributes, links, and modifiers relevant to your skill. Weapon-based attacks often need a current weapon; many spells depend heavily on gem level. Don’t evaluate every build by the same rules.
Defenses and flasks: monitor life or Energy Shield, recovery, and fire, cold, lightning, and chaos resistances. Replace flasks when their old recovery amounts no longer keep up. The two Kitava penalties are covered in Acts 5 and 10, when they require concrete defensive changes.
Travel and loot: waypoints have activated on approach since 3.25; check that they appear on your map before leaving. Use them and portals to return to NPCs, turn in quests, and stash items. You don’t need to pick up everything or clear every monster: fight what’s necessary to complete objectives and maintain suitable levels and equipment.
Exile-UI: installing on Windows and getting started
Exile-UI, formerly Lailloken UI, is an independent project by Lailloken, with no affiliation with or endorsement from Grinding Gear Games (GGG). This guide uses its PoE 1 Act-Tracker. It displays objectives and follows area transitions when it can read the local Client.txt log; it doesn’t move your character, fight, or complete quests. Areas have variable layouts, so the overlay isn’t an exact GPS either.

See the repository and releases, installation documentation, and Act-Tracker instructions. The release identified at the time of this revision was v1.65.1, dated October 8, 2026; check the current release before installing.
- On Windows, install 64-bit AutoHotkey v1.1 from the official website. Version 2 does not replace the 1.1 version required by the script.
- Set PoE 1 to Windowed or Windowed Fullscreen, then save. The documentation lists 720p, 900p, 1080p, 1200p, 1440p, 1600p, 1800p, and 2160p. Software that modifies game windows can interfere.
- Download the current package and extract the entire ZIP to its own folder. Do not run it from inside the ZIP or mix it with files from older installations. You may rename
Exile-UI-main. Avoid cloud-synced folders, which the developer reports can cause problems. - Run
Exile UI.ahk. While the game is focused, hold Esc to open the menu widget, then click the gear. If it doesn’t appear, right-click the program’s system-tray icon, go to settings → hotkeys → menu widget, and assign a key.
GGG’s guidance on third-party software does not amount to permanent approval. Review the game’s terms. This tutorial addresses informational tracking, not gameplay automation, and cannot guarantee freedom from penalties.
Configuring and using Act-Tracker
In settings, enable act-tracker, click + to create a guide-slot, and enable that slot. The default PoE 1 route works without importing a build. It is derived from the community project exile-leveling, with Exile-UI adjustments; ZAUS.GG did not create that route.
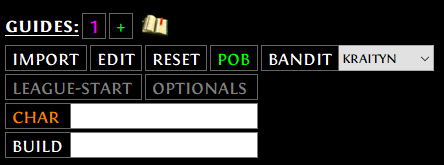
- league-start: adjusts objectives completed once per league. Set this according to whether this is your first character or you already have those unlocks. It does not make individual character rewards unnecessary.
- optionals: shows or hides optional activities. When starting out, leaving them visible helps you recognize useful quests. Hiding an objective does not remove its reward.
- bandit: select your planned Act 2 choice, such as Alira or killing all three. The route adjusts to your decision.
- gem-quests: controls gem-related quests. With an imported PoB, the guide may omit gems irrelevant to the build; disabling the control can hide required ones too. Use enable all to display everything. Right-click to open the configuration and choose which acts to collect gems in, including The Library.
- char and info/BUILD: the character name is optional for the route itself, but needed for features such as level and experience. The description identifies the slot’s build.
Open the guide from the main menu. The overlay initially appears near the bottom edge; drag the white square to move it, or right-click the square to reset its position. Text and opacity settings become available after enabling the guide.
The panel can show several steps before the next area. Complete the objectives on the page; entering the final listed, non-indented area triggers the planned progression. For example, completing an objective within one area doesn’t necessarily advance to another page: the tracker may wait for the next transition recorded in Client.txt.
Use < and > to navigate manually. A long click on < restarts the route; a long click on > attempts to jump to the current area. Neither command moves the character. If tracking stalls, check the expected area, window mode, running process, and access to Client.txt, then navigate manually if necessary.
GeForce Now: without normal access to the local log, navigation is manual; the documentation lists F3 and F4. The timer and gear-tracking functions are also unavailable when they depend on that file. Behavior differs from a local installation.
Importing a build without losing your route
Copy a compatible build code or pobb.in link, select the guide-slot, and press import, which reads the clipboard. Review the imported trees, gems, and groups. If the build prescribes a skill and two supports during leveling, use that stage; a final setup doesn’t replace early-level instructions.
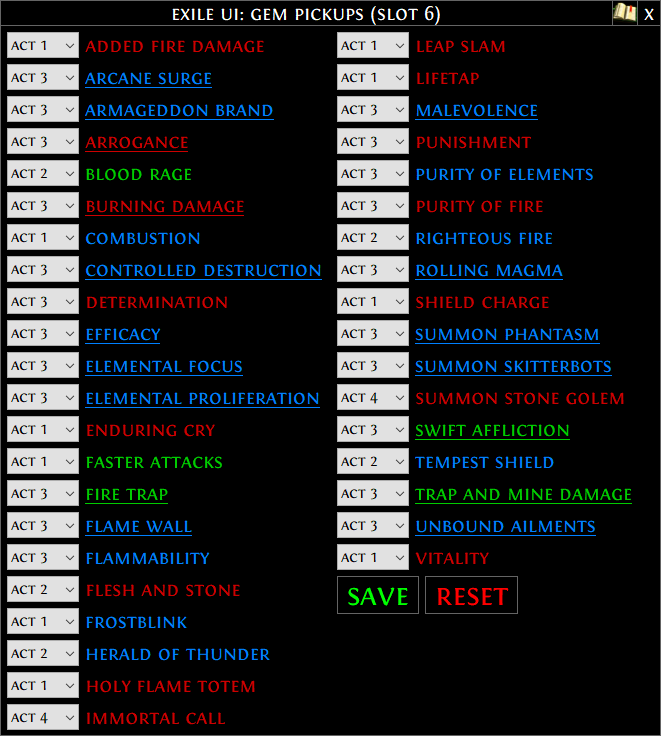
The passive-tree overlay requires its own calibration, including visually checking the tree while fully zoomed out. It does not allocate points for you. Before deleting or resetting a custom slot, export the guide through the editor and save the text: deleting the slot may also delete its route. To restore it, copy the saved text and use import. Release notes can require resetting slots to receive route updates, replacing custom changes.
The Acts 1–10 campaign: how to follow this route
The main objectives below unlock progression; passive-point quests provide permanent benefits, while optional activities are identified separately. The final table collects all rewards in one checklist. Layouts vary by instance: follow area names, your map, and the quest log rather than assuming a fixed direction. If using Exile-UI, complete the steps shown in its panel as well.
Act 1 — Twilight Strand, Lioneye’s Watch, and Merveil
The campaign begins on Twilight Strand. Pick up your first gear and receive your starting skill. Then defeat Hillock and enter Lioneye’s Watch.
The main route: travel through areas such as The Coast, The Mud Flats, The Submerged Passage, The Ledge, and The Prison. In The Mud Flats, collect the three Rhoa Glyphs from nests and use them on the wall to open The Submerged Passage. Continue through The Climb, The Lower Prison, Brutus in The Upper Prison, and Prisoner’s Gate toward the ship graveyard. Mercy Mission on The Tidal Island is a useful option for a Quicksilver Flask, but does not grant a passive point.
Then follow the regions leading to The Ship Graveyard, and afterward The Cavern of Wrath and The Cavern of Anger.
Important early rewards:
- The Dweller of the Deep: from The Submerged Passage, find the entrance to The Flooded Depths and kill the quest creature. Return to Tarkleigh for a book granting one passive point.
- The Marooned Mariner: find and defeat Captain Fairgraves in The Ship Graveyard, then speak to Bestel in Lioneye’s Watch for a book granting one passive point. The current PoE 1 Act-Tracker route goes straight from Fairgraves to The Cavern of Wrath, without the old trip to Ship Graveyard Cave. The Allflame appears on a first league character’s route (
league-start); collect it when prompted. Don’t confuse it with endgame crafting items or follow the old instruction to fetch it in the cave and return it to Fairgraves. - A Dirty Job: grants passive respec points. It’s optional and different from quests that provide new passive skill points.
Trial in The Lower Prison: this is one of the Trials of Ascendancy required to unlock the first Labyrinth.
Act 2 — Forest, bandits, and Vaal Oversoul
After defeating Merveil, you arrive at The Forest Encampment. Act 2 connects areas including The Old Fields, The Crossroads, The Riverways, The Western Forest, The Broken Bridge, and The Wetlands.
The bandit quest: Deal with the Bandits is a major early decision. The three leaders are Alira in The Western Forest, Kraityn in The Broken Bridge, and Oak in The Wetlands. You can help one and kill the other two, or kill all three and claim Eramir’s reward.
In 3.29, rewards are:
| Choice | Reward |
|---|---|
| Help Alira | +15% to all elemental resistances |
| Help Kraityn | 8% increased movement speed |
| Help Oak | +40 maximum life |
| Kill all three | 1 passive skill point |
Warning: old guides may say killing all three grants two passive points; that’s outdated since the 3.25 overhaul. Choose based on your build—there is no universally best answer. You can change the choice later through the game’s systems, but doing so costs resources and isn’t necessary for your initial plan.
Quests with useful rewards:
- Through Sacred Ground: collect the Golden Hand in The Crypt Level 2 and deliver it to Yeena for one passive point and two refund points.
- The Way Forward: begins during early progression and is completed through events in The Western Forest. Defeat Captain Arteri, collect the Thaumetic Emblem, and use it on the passage seal. Return to Bestel in Act 1 for the passive-point reward. The turn-in stays in Act 1 even though the objective is completed during Act 2.
Trials: The Chamber of Sins Level 2 and The Crypt Level 1 contain further Trials for the first Labyrinth.
To progress, retrieve the Baleful Gem from Fidelitas in The Chamber of Sins Level 2 and Maligaro’s Spike after fighting the Weaver in The Weaver’s Chambers, accessed from The Western Forest. Resolve the bandits to obtain The Apex. Use the quest items to pass the roots in The Wetlands, cross The Vaal Ruins, activate the altar, and continue through The Northern Forest and The Caverns. Defeat Vaal Oversoul in The Ancient Pyramid.
Act 3 — Sarn, gems, and the first Labyrinth
Act 3 begins in The City of Sarn and leads to The Sarn Encampment. You progress through The Slums, The Crematorium, The Sewers, The Marketplace, The Battlefront, The Docks, and Solaris and Lunaris temples before reaching The Imperial Gardens and The Sceptre of God.
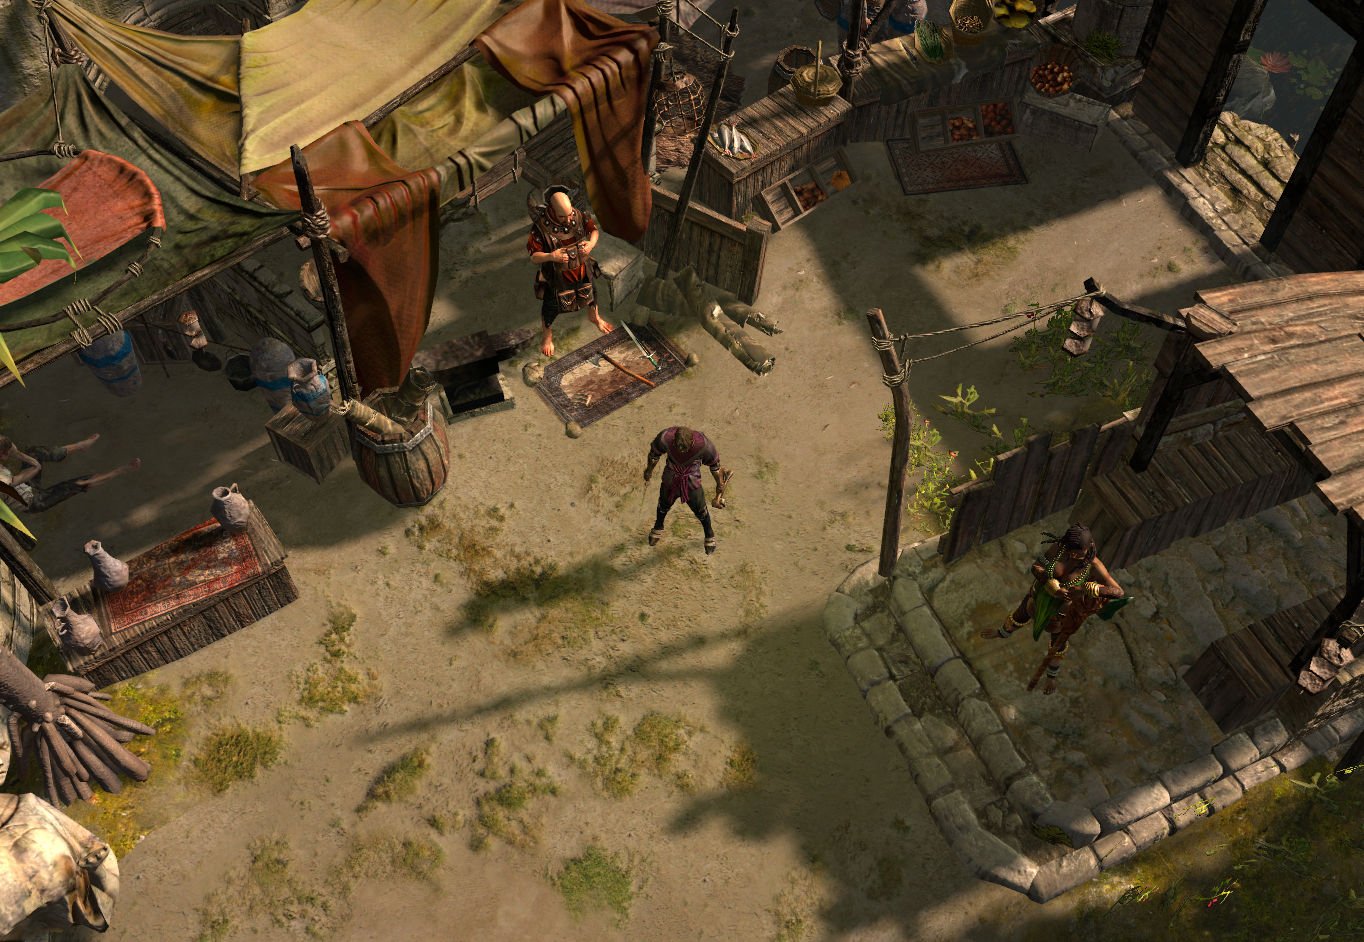
Main objectives: help Clarissa in The Slums. In The Crematorium, find Tolman, fight Piety, and give Tolman’s Bracelet to Clarissa for the Sewer Keys. Recover the Ribbon Spool in The Battlefront and Thaumetic Sulphite in The Docks. Bring them to Lady Dialla in The Solaris Temple Level 2 for Infernal Talc, used to clear the Undying Blockage in The Sewers. Continue through The Ebony Barracks, defeat General Gravicius, and reach Lunaris. Defeating Piety yields the key to the tower stage.
Two important passive rewards:
- Victario’s Secrets: find three Platinum Busts in The Sewers and hand them to Hargan. Reward: one passive skill point and refund points.
- Piety’s Pets: defeat Piety in The Lunaris Temple Level 2 and speak to Grigor. Reward includes one passive point.
The Library and Siosa: from The Imperial Gardens, you can enter The Library. Collect four Golden Pages in The Archives and return to Siosa to complete A Fixture of Fate, expanding access to gems. This is useful if your build needs skills or supports you couldn’t get earlier.
The first Labyrinth: the three remaining Trials are in The Crematorium, The Catacombs, and The Imperial Gardens. With all six initial Trials complete, the first Labyrinth opens at the relevant entrance. Beating it lets you select an Ascendancy and obtain specialization points. You don’t need to run it at an exact level, but delaying Ascendancy too long can leave your build without significant benefits. Do it when you’re prepared.
Dominus: Act 3 ends with the fight against Dominus in The Upper Sceptre of God.
Act 4 — Highgate, Kaom, Daresso, and Malachai
Act 4 begins in Highgate. Cross The Dried Lake, defeat Voll, and take Deshret’s Banner to the seal that opens The Mines. Reach The Crystal Veins, which connects to Kaom’s Dream and Daresso’s Dream. Defeat both bosses for the Eye of Fury and Eye of Desire, then hand them to Dialla in The Crystal Veins. Both objective chains are required.
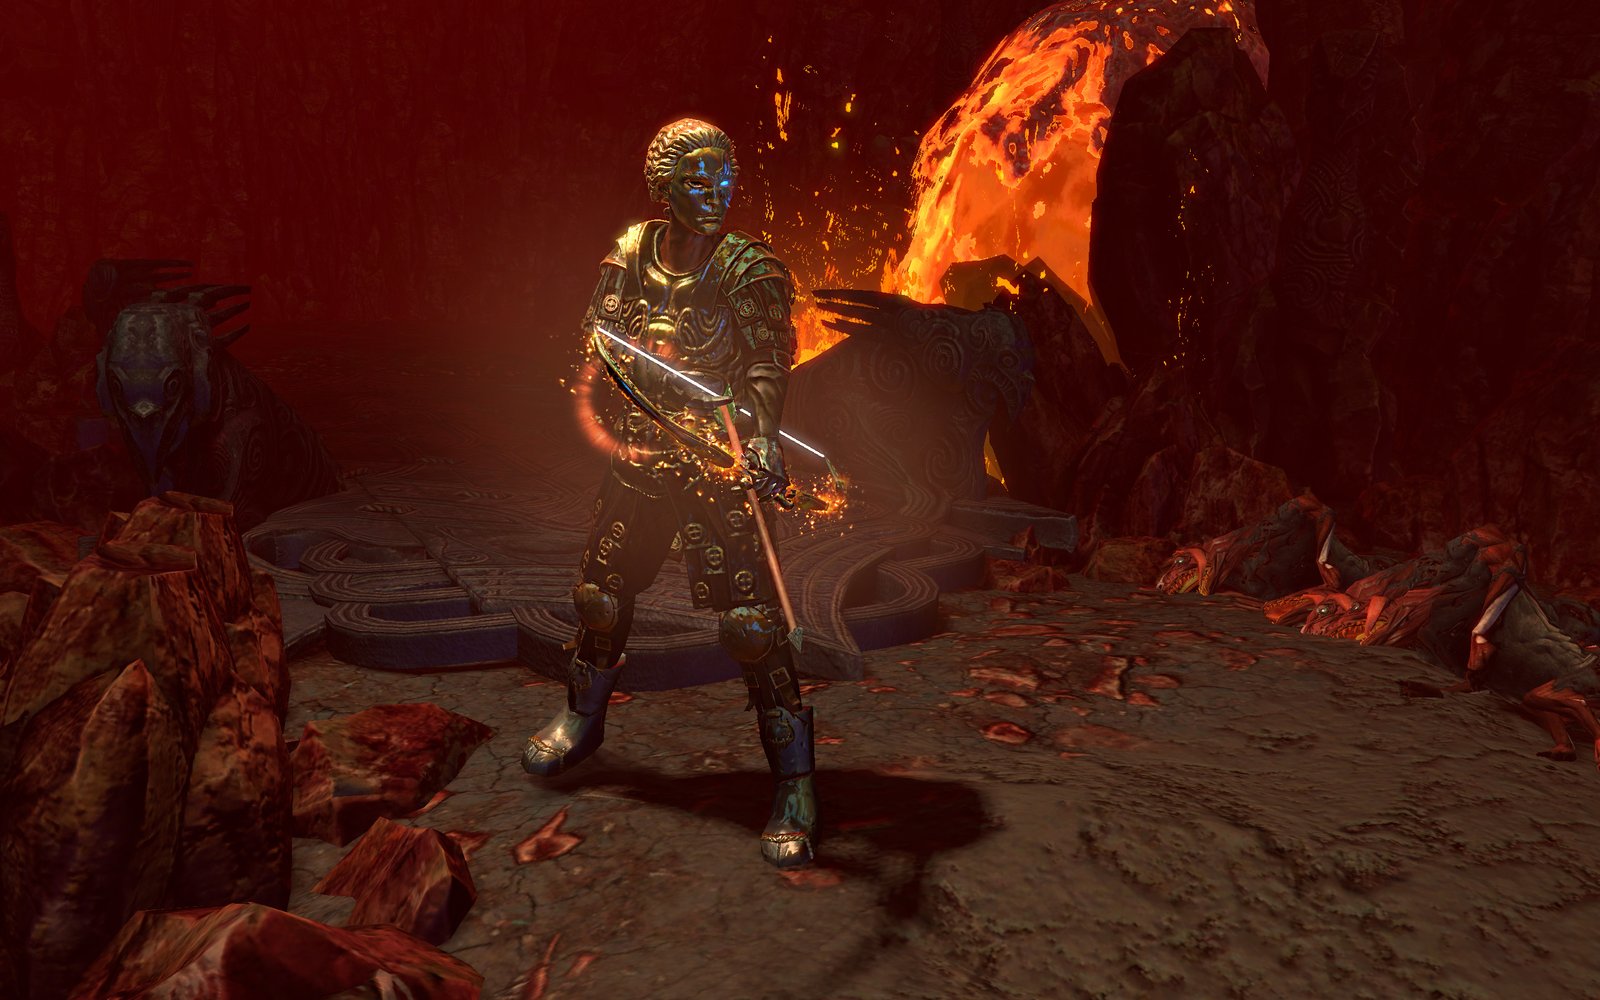
Important reward — An Indomitable Spirit: free Deshret’s spirit in The Mines Level 2. Return to Tasuni in Highgate for one passive point and two refund points.
Malachai: after the earlier objectives, progress through The Belly of the Beast and The Harvest. Defeat Doedre, Maligaro, and Shavronne in The Harvest, recover the organs, and complete Piety’s objectives to reach the Black Core. Defeat Malachai, then go through The Ascent and use the Resonator to travel to Oriath.
Act 5 — Oriath, Innocence, and the first resistance penalty
Act 5 takes you to Oriath. Begin in The Slave Pens, reach Overseer’s Tower, and progress through The Control Blocks, Oriath Square, The Templar Courts, and The Chamber of Innocence. Fight Innocence, then travel through changed areas toward Kitava.
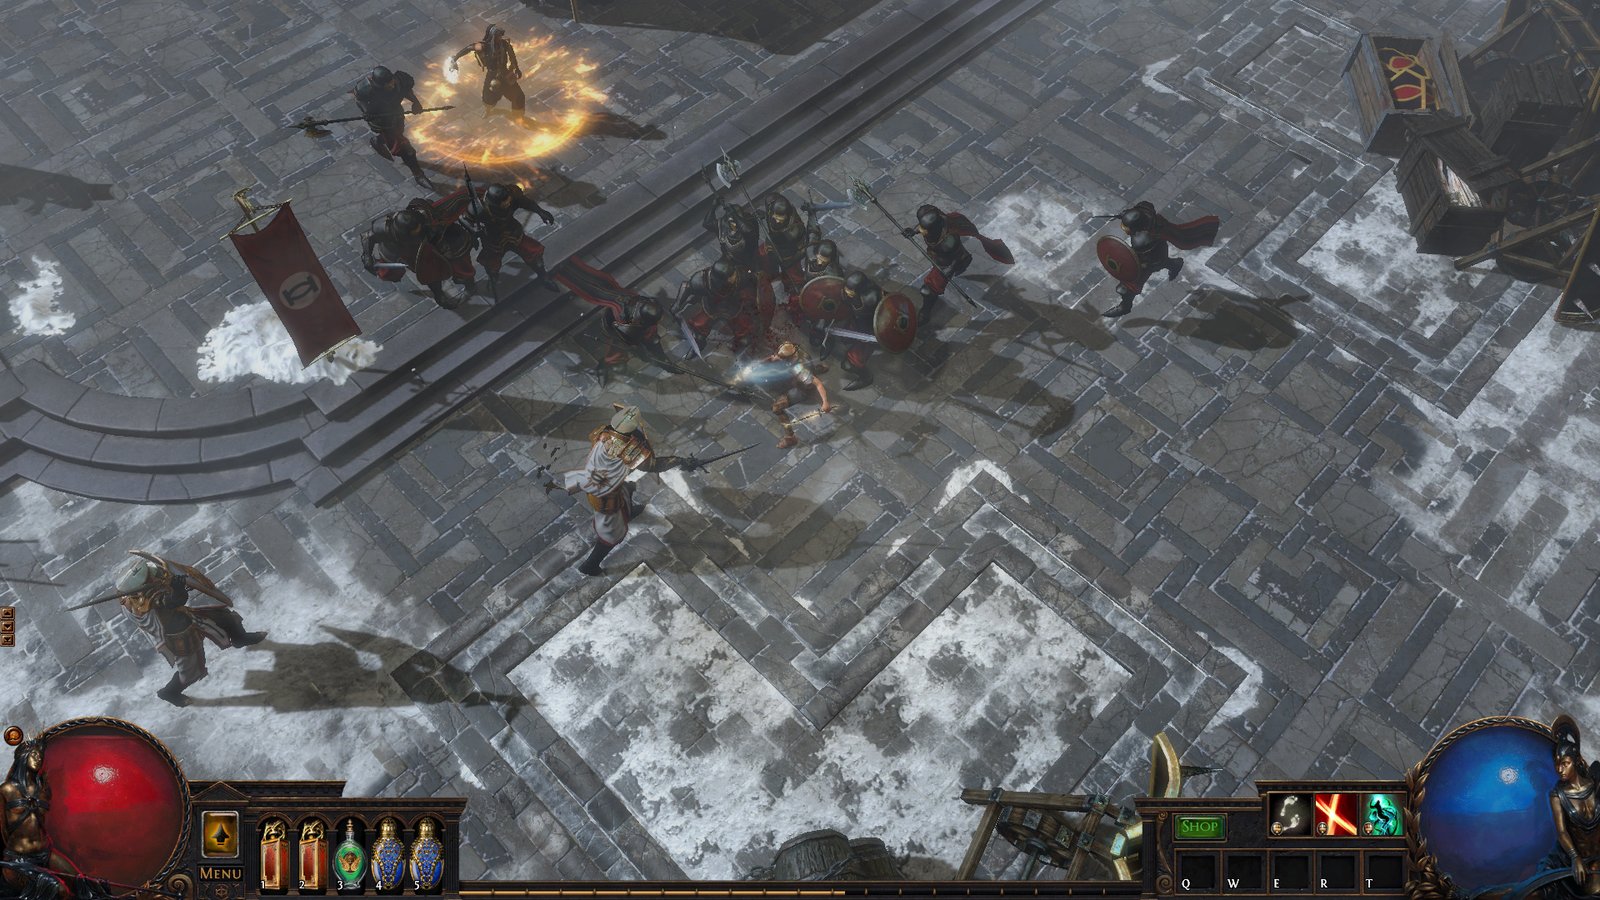
Reward in The Control Blocks — In Service to Science: find the Miasmeter in The Control Blocks and hand it to Vilenta in Overseer’s Tower for one passive point. Do not confuse The Control Blocks with The Templar Courts, a later area.
Kitava’s Torments: find all three quest objects in The Reliquary and return them to Lani. Reward: a passive skill point and refund points.
First Kitava encounter: after getting the Sign of Purity in The Ossuary, progress to the fight on The Cathedral Rooftop.
The first resistance penalty: after the Kitava events, your character receives a −30-percentage-point penalty to all resistances, including chaos. This reduces your actual resistance value, not the maximum resistance cap. For example, a character with 75% fire resistance and no uncapped excess drops to 45% with nothing else changed, and therefore takes more fire damage.
How to fix it: open your character panel and check defenses. Find resistance modifiers on rings, belts, boots, gloves, and other gear. You can use simple crafting options without understanding every advanced system. Don’t continue as though your defenses are still what they were at the start of the act. After Kitava, claim both passive rewards and correct resistances; Act-Tracker cannot change your gear.
Act 6 — Back to the coast and the Pantheon
Act 6 returns to Lioneye’s Watch, now facing new threats. Follow The Coast, The Mud Flats, The Karui Fortress, The Ridge, The Prison, Shavronne’s Tower, Prisoner’s Gate, The Western Forest, The Riverways, and The Southern Forest. In The Mud Flats, kill The Dishonoured Queen, collect the Eye of Conquest, and use it at the entrance to The Karui Fortress. The act ends with the Brine King.
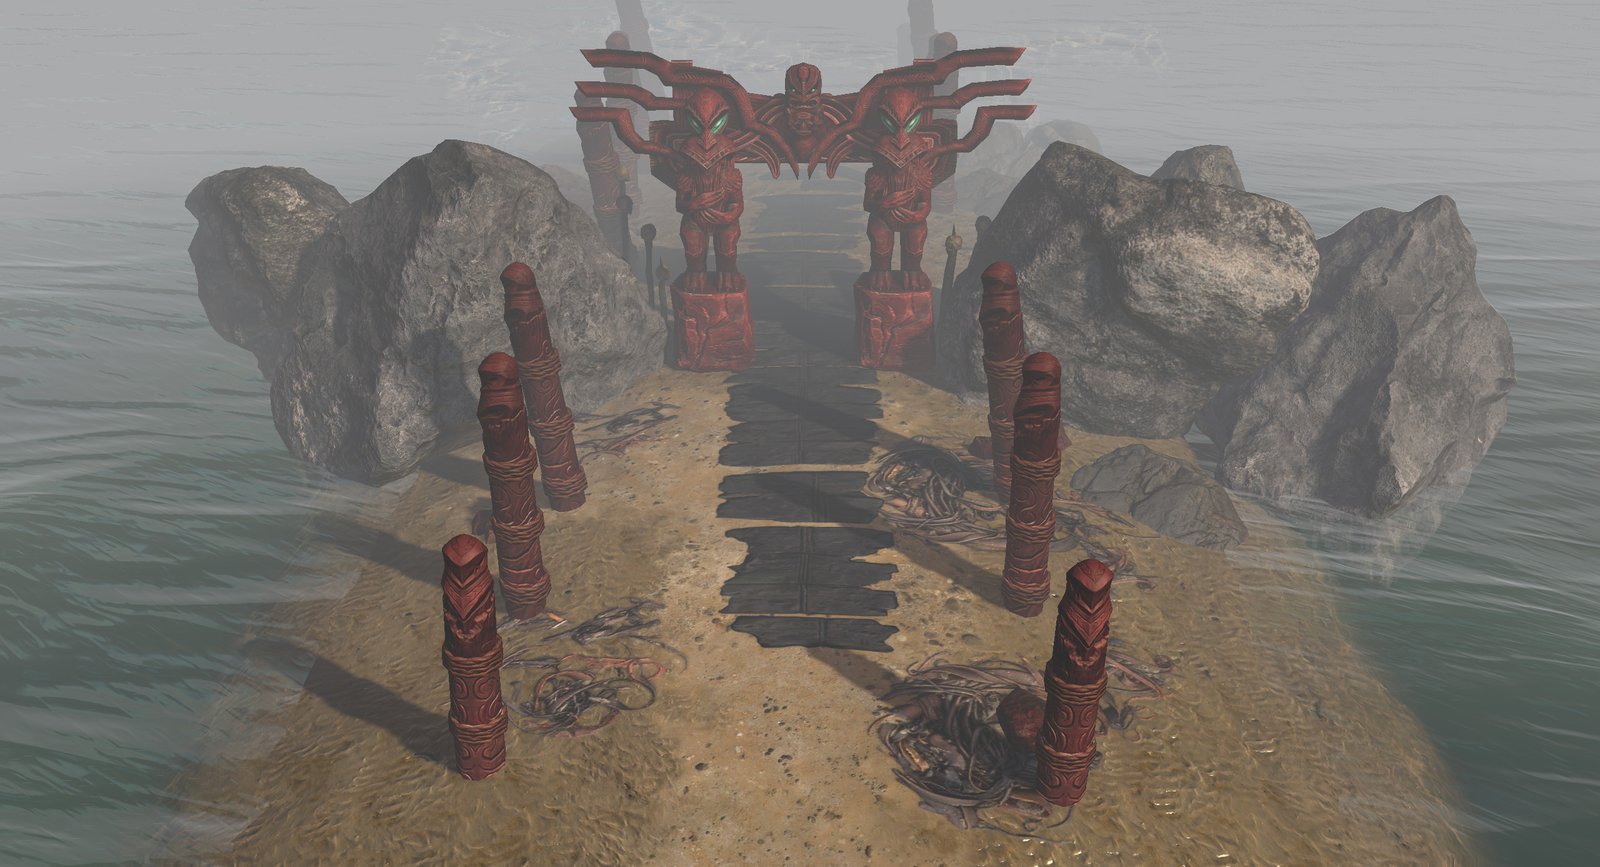
Fallen from Grace: clear the monsters in The Twilight Strand and return to Lilly Roth. This broadens gem access and grants passive refund points.
Three important passive points: The Father of War (kill Tukohama in The Karui Fortress); The Cloven One (kill Abberath, accessible from Prisoner’s Gate); and The Puppet Mistress (kill Ryslatha in The Wetlands). Each quest grants one passive skill point.
What is the Pantheon? It grants defensive and utility powers associated with gods defeated during the second half of the campaign, divided into major and minor powers with their own upgrade paths.
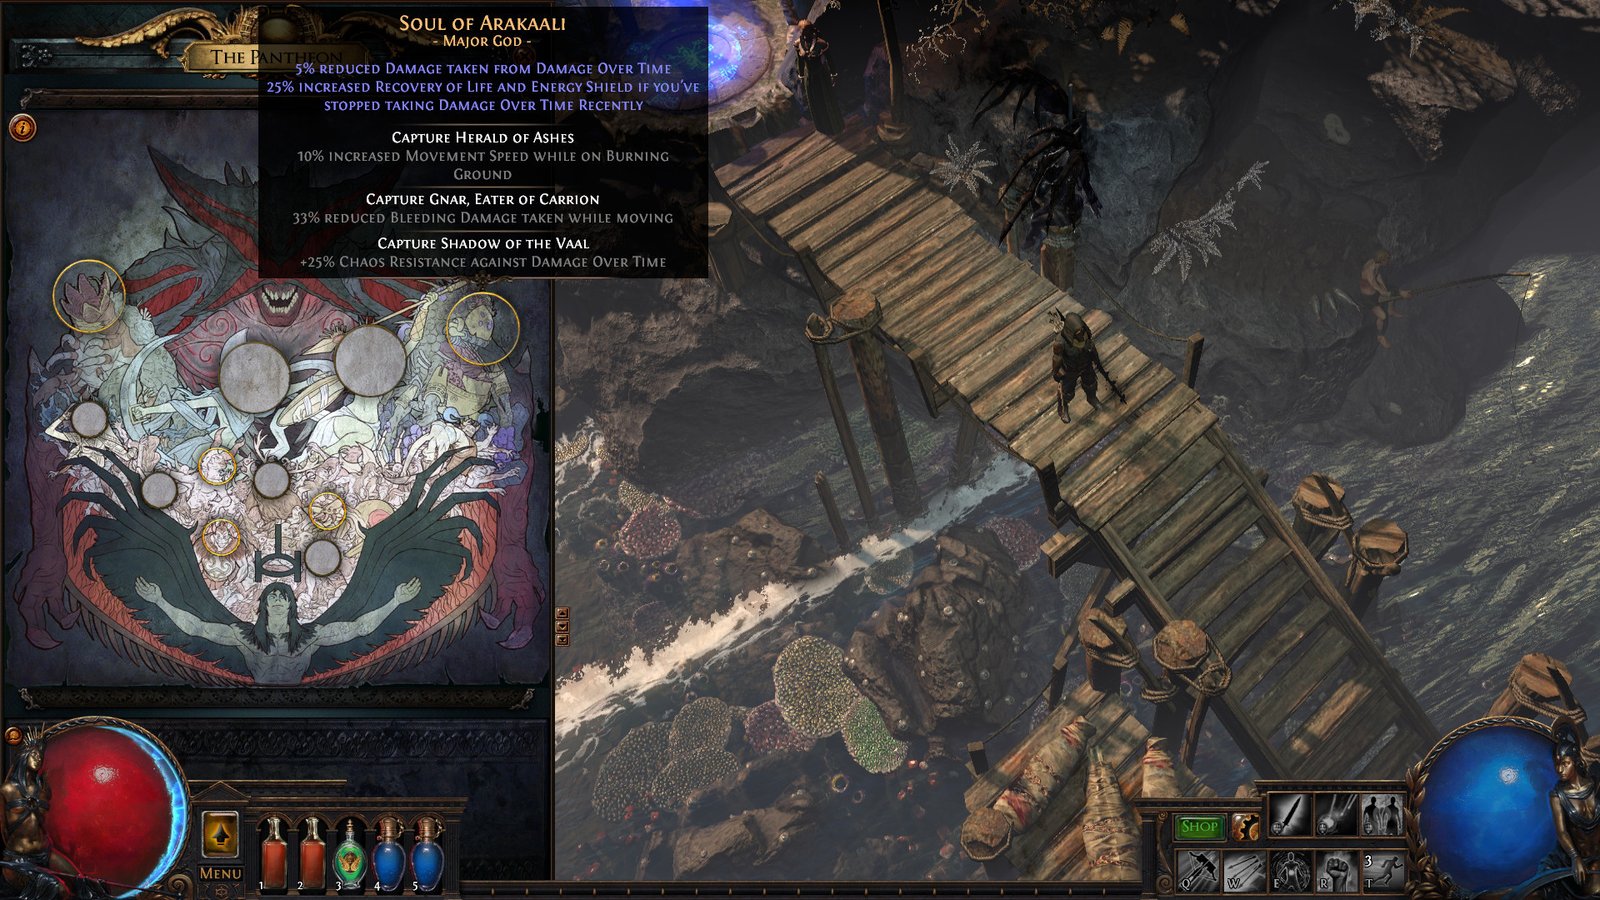
The second set of Trials: Act 6 has a Trial for the next Labyrinth in The Prison. This isn’t The Lower Prison from Act 1. Completing it contributes to unlocking the Cruel Labyrinth.
Brine King: go from The Southern Forest to The Cavern of Anger, obtain the Black Flag, and reach The Beacon. Escort the fuel carts, light the beacon, and burn the flag. Speak to Weylam Roth to sail to The Brine King’s Reef, then defeat the boss.
Act 7 — Forests, Ralakesh, and Arakaali
Act 7 begins at The Bridge Encampment. Revisit forested areas including The Broken Bridge, The Crossroads, The Fellshrine Ruins, The Crypt, and The Chamber of Sins, then continue through The Ashen Fields, The Northern Forest, The Causeway, and The Vaal City. In The Crypt, recover Maligaro’s Map. Use Silk’s device in The Chamber of Sins Level 1 to enter Maligaro’s Sanctum, kill Maligaro, and hand Black Venom to Silk for the Obsidian Key.
The key opens the path through The Den and The Ashen Fields. In The Dread Thicket, collect seven Fireflies and deliver them to Yeena in The Vaal City to open The Temple of Decay.
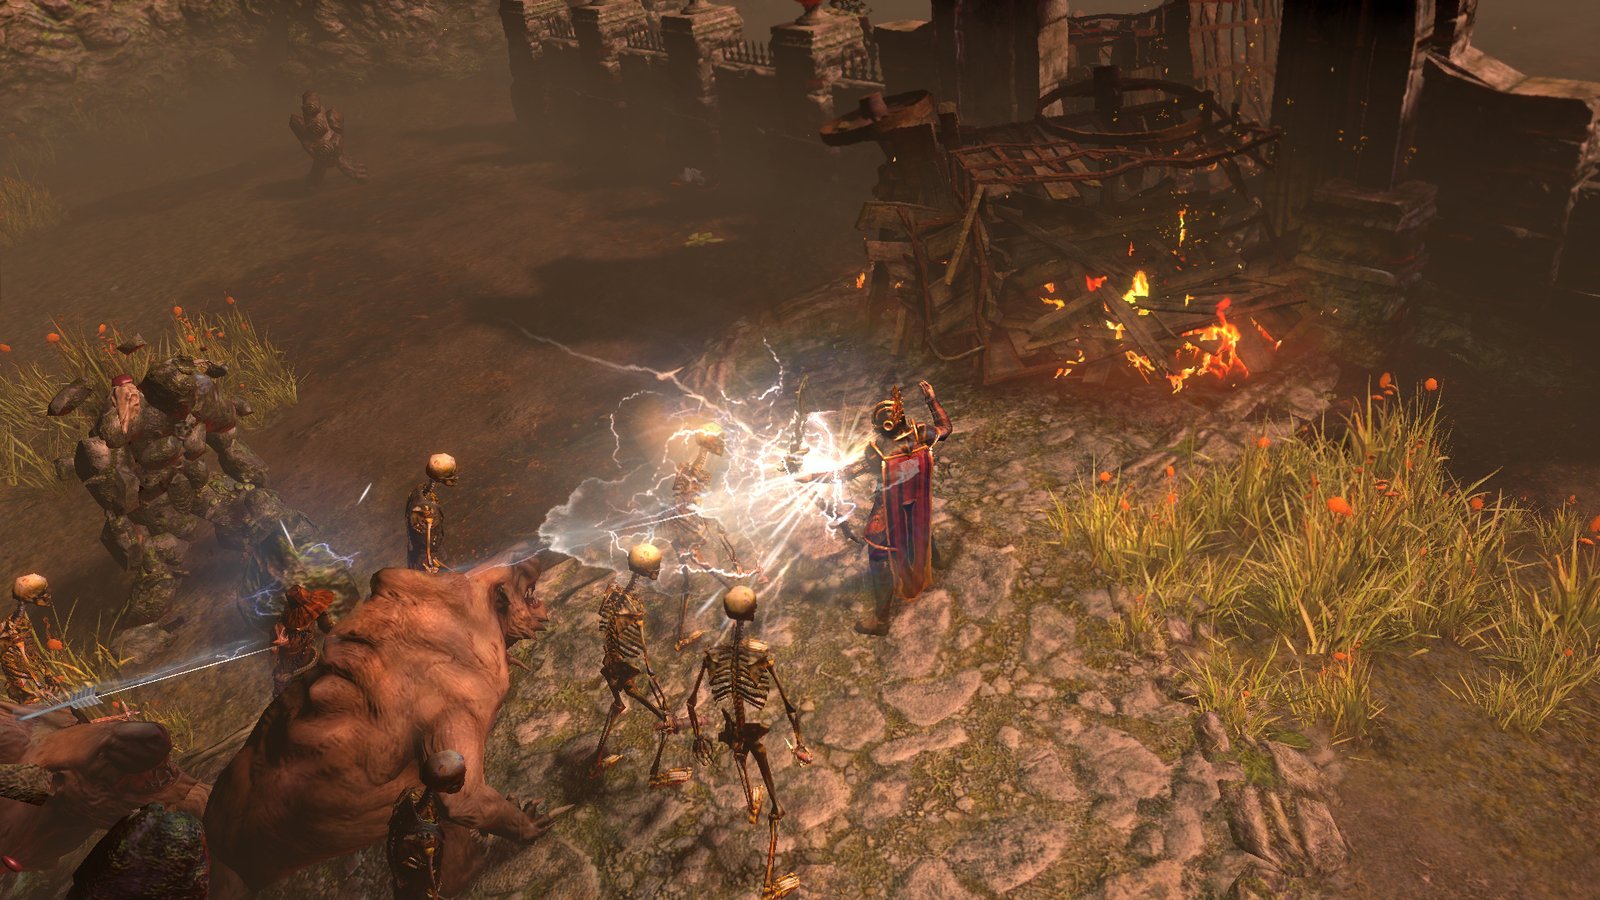
Important rewards:
- The Master of a Million Faces: in The Ashen Fields, defeat Greust, under Ralakesh’s influence in The Fortress Encampment, then return to Eramir. Reward: one passive point.
- Queen of Despair: find Gruthkul in The Dread Thicket, reached from The Northern Forest. Reward includes one passive point.
- Kishara’s Star: find the quest item in The Causeway and complete its turn-in. Reward: one passive point and refund points.
Cruel Labyrinth Trials: the Trials in The Crypt and The Chamber of Sins Level 2, alongside Act 6’s Trial, complete the Cruel Labyrinth requirements. Finishing it grants more Ascendancy points.
Arakaali: the principal fight occurs in the final areas of The Temple of Decay.
Act 8 — Sarn, Solaris, and Lunaris
Act 8 returns to Sarn. Start in The Sarn Ramparts, reach Sarn Encampment, then explore The Toxic Conduits, Doedre’s Cesspool, The Quay, and The Grain Gate. The route also involves The Imperial Fields, The Solaris Temple, The Lunaris Temple, and The Harbour Bridge.
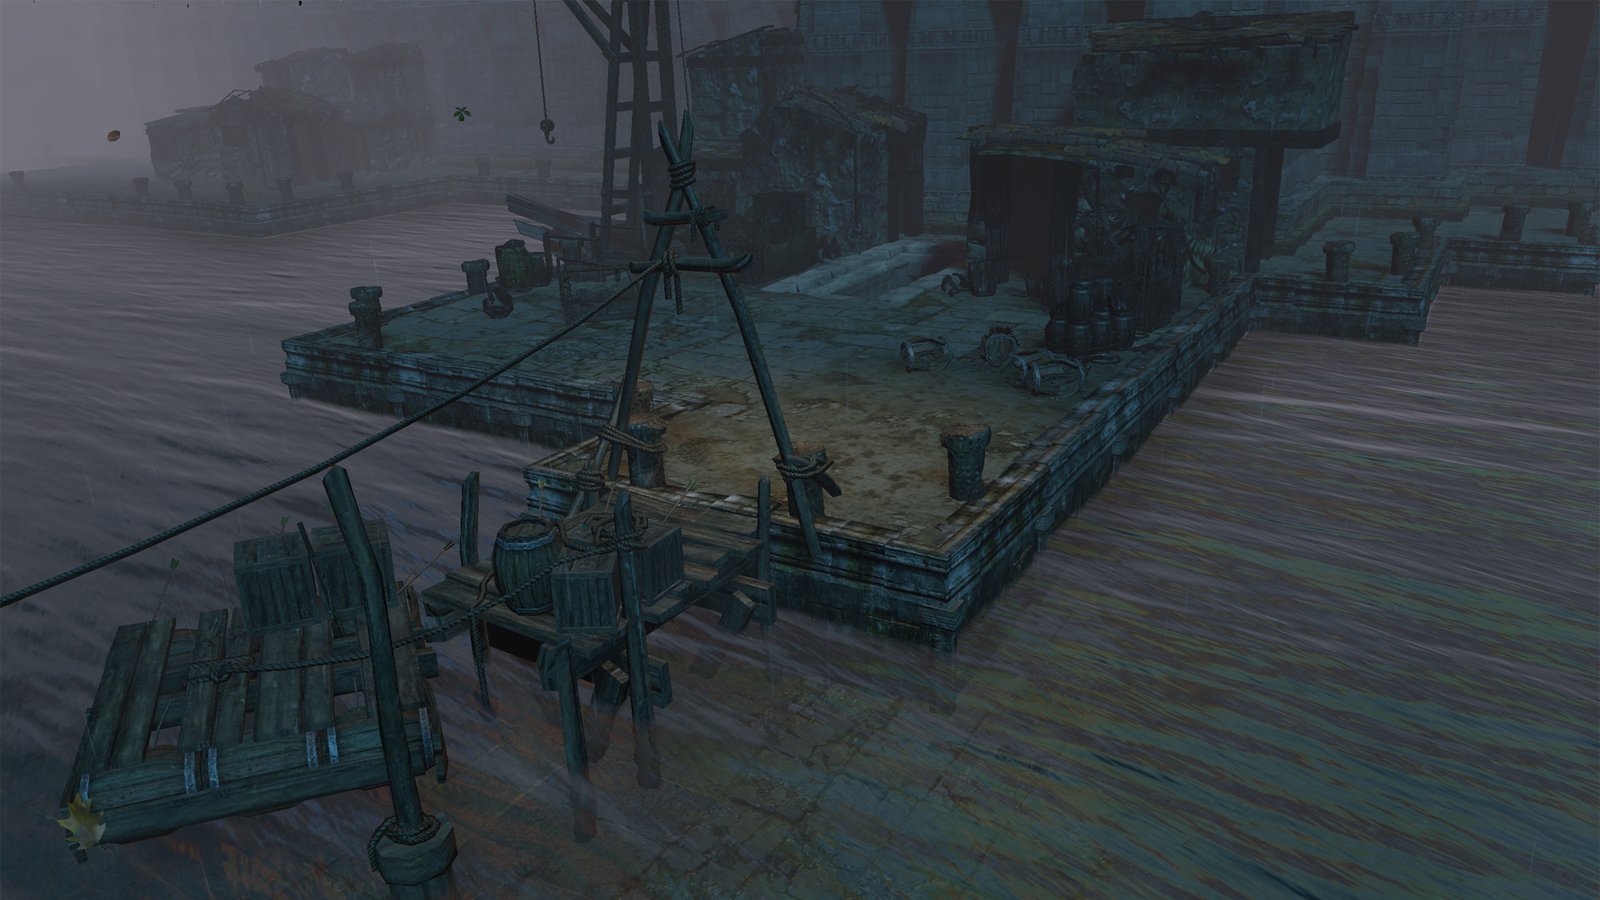
Three passive rewards:
- Love is Dead: find the Ankh of Eternity in The Quay and complete the Tolman-related events. Reward: one passive point and refund points.
- The Gemling Legion: defeat the quest-related enemies in The Grain Gate. Reward: one passive point.
- Reflection of Terror: find and kill Yugul in The High Gardens, accessible from The Bath House. Reward: one passive point.
Trial: The Bath House contains a Trial for the Merciless Labyrinth.
Solaris and Lunaris: obtain the Sun Orb from the Solaris Temple and the Moon Orb from the Lunaris Temple. The main story takes you through both temples before the pivotal encounter on The Harbour Bridge.
Act 9 — Desert, Highgate, and Depraved Trinity
Act 9 returns to Highgate through desert regions and connected areas such as The Descent, The Vastiri Desert, The Foothills, The Boiling Lake, The Tunnel, and The Quarry. Obtain Basilisk Acid in The Boiling Lake and Trarthan Powder in The Refinery after fighting their respective bosses. With both items and Sin’s Quarry objectives completed, follow The Belly of the Beast and The Rotting Core. Defeat the three sub-area bosses to face The Depraved Trinity.
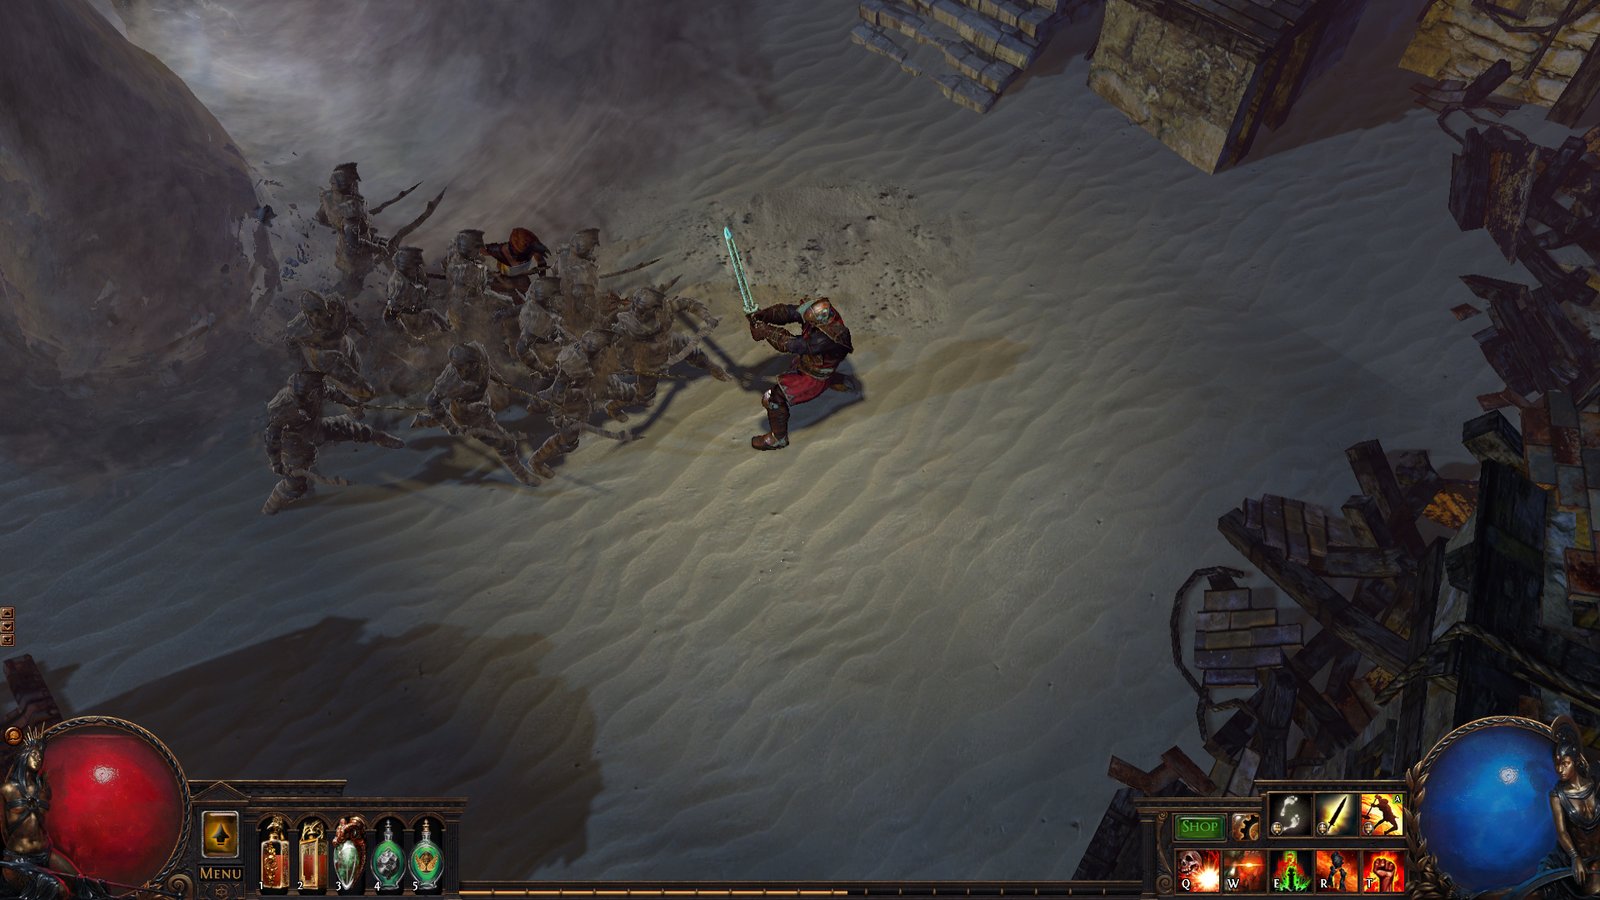
Two quests granting passive points:
- Queen of the Sands: find the Storm Blade in The Vastiri Desert, bring it to Petarus and Vanja, and complete their and Sin’s dialogue to obtain the Bottled Storm. Use it at the storm blocking The Oasis, fight Shakari in The Sand Pit, and return to Irasha for one passive point.
- The Ruler of Highgate: defeat Garukhan in The Shrine of the Winds, reached through The Quarry. Retrieve the Sekhema Feather and give it to Irasha or Tasuni according to your succession choice. Reward: one passive point.
Trial: The Tunnel contains another Trial for the Merciless Labyrinth.
Blood Aqueduct: a traditional area for farming experience and items, but not a mandatory multi-hour stop. If your character progresses comfortably, keep going; its usefulness depends on build, level, and version.
Act 10 — Oriath and the final battle with Kitava
Act 10 concludes the traditional campaign. Return to Oriath and progress through The Cathedral Rooftop, The Ravaged Square, The Control Blocks, The Ossuary, The Torched Courts, The Desecrated Chambers, The Canals, and The Feeding Trough. Help Bannon on The Cathedral Rooftop. To open the final route, defeat Avarius in The Desecrated Chambers, recover the Staff of Purity, and complete the conversations with Bannon, Innocence, and Sin indicated in your quest log. Innocence opens The Canals; continue to The Feeding Trough and Kitava.
Vilenta’s Vengeance: find and kill Vilenta in The Control Blocks, then speak to Lani for one passive point.
The Ossuary and the final campaign Trial: Act 10’s Ossuary contains the last Trial of the Merciless Labyrinth set from Acts 8–10. There is also an optional quest granting passive respec points.
The Kitava fight: Kitava has physical and fire attacks, as well as moves where positioning matters. Before the fight, review life or your main defensive resource, resistances, flasks, single-target damage, movement, and gem setup. If you die repeatedly, identify why: fixing one low resistance may help more than adding a little damage.
The second penalty: after completing Act 10, receive another permanent −30 percentage points to all resistances, cumulative with Act 5, for −60 points overall, including chaos. For example, if your gear and passives provide 135% total fire resistance before penalties, after both 30-point reductions that becomes 75%, the default elemental cap unless modifiers raise it. Excess uncapped resistance can exist; Kitava reduces resistance values, not maximum resistance.
Final reward: after Kitava, speak to Lani at the end of the campaign/epilogue and use the An End to Hunger skill book, which grants two passive skill points. Don’t jump straight into maps without checking your remaining quest rewards.
Passive skill point quests: checklist for all ten acts
You don’t need to finish every side quest, but do check all quests that grant passive skill points. The following table lists rewards from the regular campaign. Completing the objective isn’t enough: speak to the designated NPC and use the Book of Skill. Passive refund points are separate benefits and don’t count toward the total.
| Act | Quest | Turn in to | Reward |
|---|---|---|---|
| 1 | The Dweller of the Deep | Tarkleigh | +1 passive point |
| 1 | The Marooned Mariner | Bestel | +1 passive point |
| 1–2 | The Way Forward | Bestel (Act 1) | +1 passive point |
| 2 | Through Sacred Ground | Yeena | +1 passive point |
| 2 | Deal with the Bandits | Eramir | +1 if you kill all three |
| 3 | Victario’s Secrets | Hargan | +1 passive point |
| 3 | Piety’s Pets | Grigor | +1 passive point |
| 4 | An Indomitable Spirit | Tasuni | +1 passive point |
| 5 | In Service to Science | Vilenta | +1 passive point |
| 5 | Kitava’s Torments | Lani | +1 passive point |
| 6 | The Father of War | Tarkleigh | +1 passive point |
| 6 | The Cloven One | Bestel | +1 passive point |
| 6 | The Puppet Mistress | Tarkleigh | +1 passive point |
| 7 | The Master of a Million Faces | Eramir | +1 passive point |
| 7 | Queen of Despair | Eramir | +1 passive point |
| 7 | Kishara’s Star | Weylam Roth | +1 passive point |
| 8 | Love is Dead | Clarissa | +1 passive point |
| 8 | The Gemling Legion | Maramoa | +1 passive point |
| 8 | Reflection of Terror | Hargan | +1 passive point |
| 9 | Queen of the Sands | Irasha | +1 passive point |
| 9 | The Ruler of Highgate | Irasha or Tasuni | +1 passive point |
| 10 | Vilenta’s Vengeance | Lani | +1 passive point |
| 10 | An End to Hunger | Lani | +2 passive points |
That makes 24 quest passive points if you kill all three bandits, or 23 if you help one. Refund points let you undo allocations; they don’t increase that total.
In the in-game chat, type /passives. The command reports passive points earned through your character’s quests and can help identify missing rewards. If one is pending, check the act and return to the relevant area. You can go back after Kitava, but collecting rewards along the way avoids backtracking. Keep relevant objectives visible in Act-Tracker.
Labyrinths and Ascendancies: when should you run them?
Ascendancies are important class specializations whose passives can dramatically change how a build functions. Unlock them through the Lord’s Labyrinth, which involves traps, challenges, and encounters with Izaro. The first completion of a difficulty on a character grants Ascendancy points.

| Labyrinth | Area level / character minimum | Unlock requirements | First reward |
|---|---|---|---|
| Normal | Area 33; no specific minimum | Six Trials from Acts 1–3; enter through Aspirants’ Plaza in Sarn | 2 Ascendancy points |
| Cruel | Area 55; character 40 | Complete Normal and Trials in The Prison (A6), The Crypt and Chamber of Sins Level 2 (A7) | 2 more points |
| Merciless | Area 68; character 50 | Complete Cruel and Trials in Bath House (A8), Tunnel (A9), and Ossuary (A10) | 2 more points |
| Eternal | Area 75; character 68 | Complete Merciless and use one Offering to the Goddess per attempt; the old six random map Trials are no longer required | 2 more points |
The traditional set provides eight Ascendancy points. An area level is not the same as minimum entry level, nor proof that your build can beat the encounter. Check the community Labyrinth wiki for requirements.
Run Normal during or after Act 3 with six completed Trials and a prepared build. Tackle later difficulties when you meet their requirements, without confusing a minimum level with readiness for Izaro. The early Labyrinth Trials remain relevant; Eternal has its own conditions in the table. Older guides may describe different rules.
How to recognize build problems during the campaign
Not enough damage: check skill gem level, compatible linked supports, your weapon, and passives supporting the right damage type. Upgrading a weapon may transform an attack build but won’t necessarily fix a spell dependent on gem level. Identify the cause before changing items at random.
Frequent deaths: check resistances, especially after Kitava, then life or Energy Shield, recovery, and the defensive layers planned by your build. Armour, evasion, and block work differently. Replace outdated flasks and learn which enemy attacks to dodge; more damage won’t solve every weakness.
Unusable gems or items: check required Strength, Dexterity, Intelligence, and level. Changing one item may remove attributes that several gems relied on. Evaluate your full setup, not just rarity or the number of modifiers on a new piece.
You don’t have to full-clear every area or buy expensive equipment to finish. If you’re keeping pace with the difficulty, continue; if you’re falling behind, gain experience or upgrade gear and revisit your setup. The Blood Aqueduct is an option, not mandatory farming. Your first campaign time depends on exploration and learning, not on matching speedruns. The Act-Tracker timer is optional.
Before abandoning the character, also verify that your build is for the correct version. Our trade, Faustus, and economy guide covers trading when useful, but commerce doesn’t replace understanding which modifiers your build needs.
I’ve finished Act 10: what comes next?
- Claim both An End to Hunger points, use the skill books, and check
/passives. - Recheck resistances after the total −60-percentage-point penalty, life or Energy Shield, recovery, and flasks.
- Verify links, supports, attributes, and any outstanding Labyrinths or Ascendancy points.
- Follow your build’s advice for the first maps and complete the epilogue objectives with Commander Kirac.
The Atlas of Worlds structures the endgame. In 3.29 it retains the Mirage (3.28) rework: ordinary Map Items determine the Tier, while you choose the area through the Atlas interface, subject to compatibility; special maps have separate rules. Continue with our first steps after the campaign.

Afterward, Delve, Heist, Sanctum, league encounters, and bosses offer different progression paths. Our farming-methods catalog explains these alternatives. Killing Kitava finishes the ten acts; checking your rewards and fixing the build sets you up for what follows, with or without Exile-UI.
Exile-UI documentation credits and license. The guide-slot, panel, and gem-configurator screenshots were published by the developer in the Act-Tracker documentation. The MIT license notice expressly covers associated documentation files; it doesn’t grant general rights to game or third-party imagery. Copyright © 2022 Lailloken. For reuse of substantial portions of the covered documentation, retain the original MIT permission and warranty notice unchanged, as reproduced in the PT-BR source; a translated summary is not a replacement for that notice.
About the Author