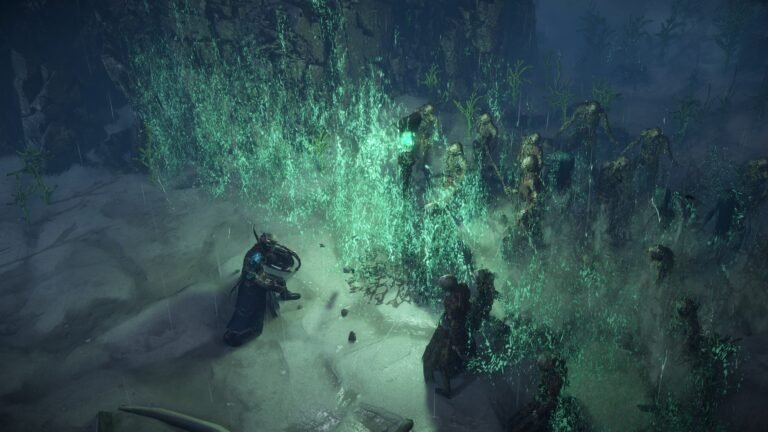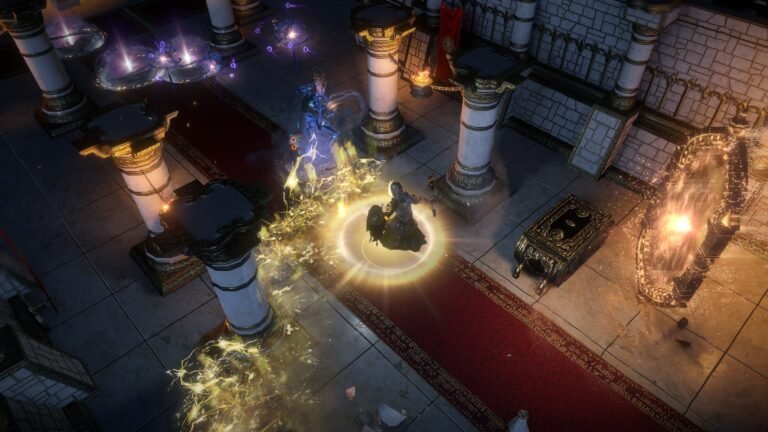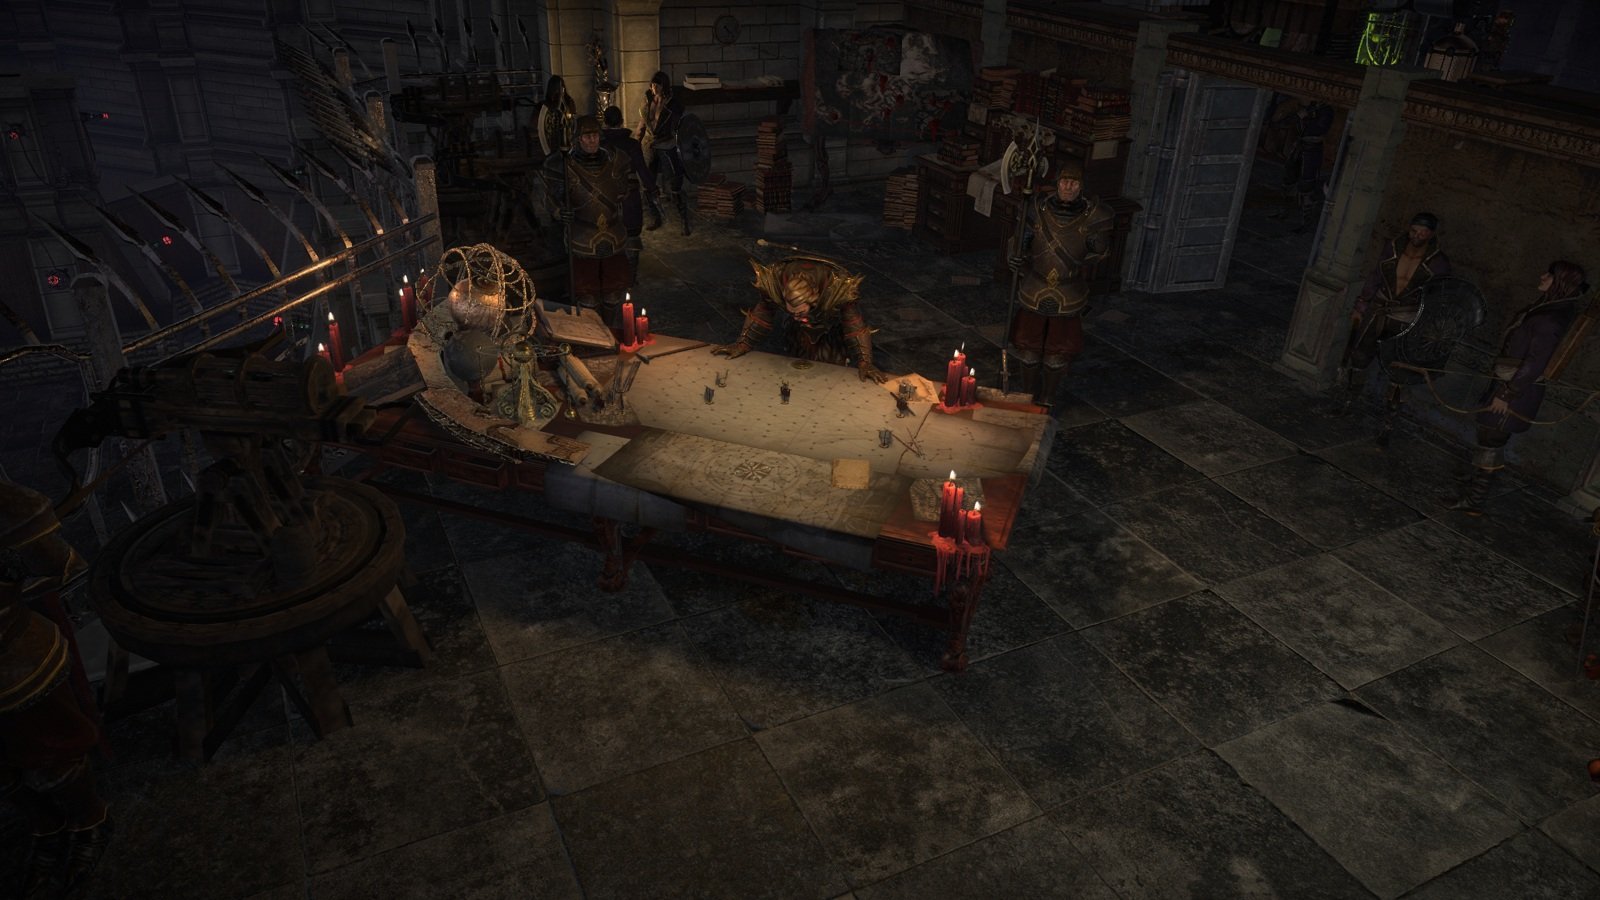
Path of Exile — Siege of the Atlas (2022): Kirac planeja a exploração na War Room. Captura oficial de divulgação: Grinding Gear Games. Registro histórico da base, não da interface 3.29.
You finished the Path of Exile campaign and feel lost? The next step is to check Kitava’s rewards, fix your character’s weaknesses, and find Commander Kirac to open your first map. This guide covers that transition, from the Epilogue to an initial Atlas routine, without requiring perfect equipment or an advanced farming strategy.
Revised October 25, 2026. Reference: Path of Exile 1, version 3.29 — Curse of the Allflame, in conventional progression; Ruthless has its own rules. The official patch history lists 3.29.3b as the most recent update identified for this review. 3.30 is announced for November 13, 2026 (PST) and is still in the future as of this revision. Historical screenshots are identified in their captions.
Nesta matéria
After Kitava: the Epilogue and unclaimed rewards
Defeating Kitava in Act 10 ends the traditional campaign and takes you to the Epilogue in Karui Shores. You keep the same character, but move from the sequence of acts to areas selected on the Atlas. Completing the story does not mean you are prepared for every difficulty: the final resistance penalty is already in effect, and you may still have permanent rewards to claim.
Claim your campaign passive points
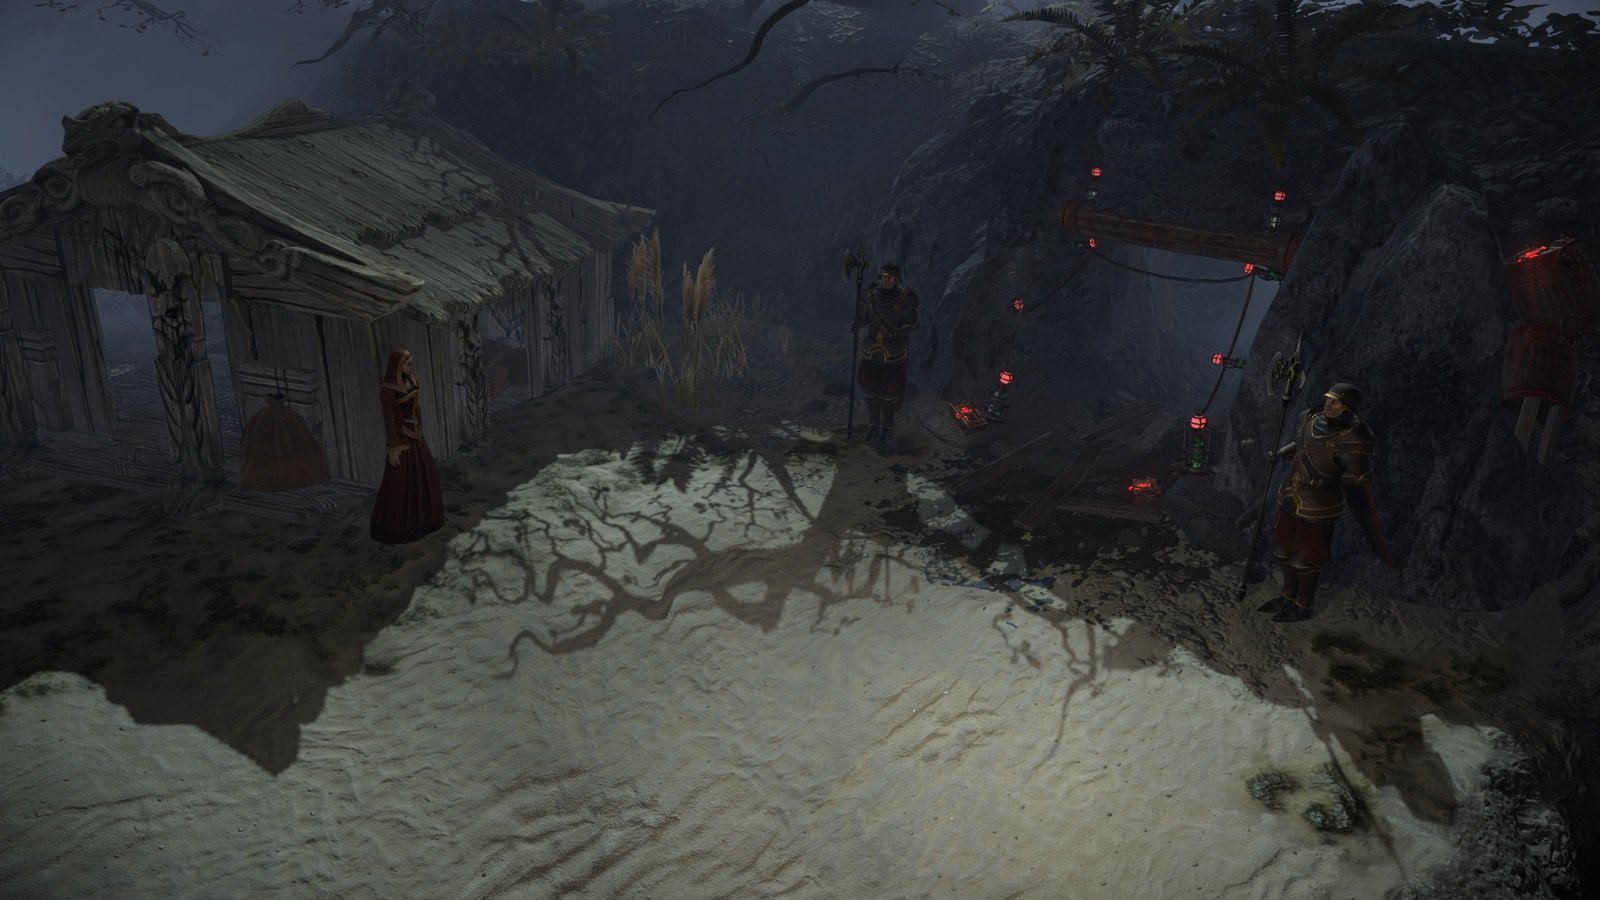
Speak to Lani at the end of the campaign, receive the book from An End to Hunger, and use it for two passive skill points. Then open chat and type /passives. This command helps locate quest rewards you have not claimed. Completing an objective but forgetting to turn in the quest or use its book leaves the benefit unclaimed.
Your bandit choice also affects the count: in 3.29, killing all three bandits in Deal with the Bandits grants one passive skill point; helping one of them offers a different bonus. Do not compare two point totals without taking this decision into account. You can return to earlier acts to claim a missed reward. The Acts 1–10 campaign guide with Exile-UI lists the quests and Trials; you do not need to start a new character.
Fix your resistances before entering maps
The two Kitava fights apply permanent penalties of 30 percentage points to resistances, one after Act 5 and another after Act 10. The cumulative reduction is 60 percentage points, including chaos resistance. Open the character panel and check fire, cold, lightning, and chaos after the penalty instead of trusting the values you remember from the campaign.
Understand your current value and maximum cap
Suppose you had 75% fire resistance before the second penalty, with no excess resistance above the cap. Without any other changes, you will have 45%. Against a hypothetical hit dealing 1,000 fire damage, ignoring other defenses, the difference is:
- At 75%, you take 250 damage.
- At 45%, you take 550 damage — more than twice as much.
Kitava lowers the resistance you have, not your maximum resistance. The default elemental cap remains 75%, unless modifiers change it. Extra resistance can offset some of the penalty: with 135% total resistance from gear, passives, and other sources, subtracting the cumulative 60 points leaves 75%. This is why looking only at the capped figure displayed before Kitava can be misleading.
| Resistance | Current value | Status |
|---|---|---|
| Fire | 75% | At the default elemental cap |
| Cold | 45% | Needs improvement |
| Lightning | 30% | Needs improvement |
| Chaos | -20% | A weakness to consider |
In this example, cold and lightning are immediate weaknesses. For a conventional beginner build, reaching the standard elemental cap in all three elements is a practical priority. Chaos resistance matters too, but 75% chaos resistance is not a universal prerequisite for opening your first map; consider your build’s defensive design and the dangers you encounter.
Improve items without breaking your build
Look for resistances on rings, amulets, belts, boots, gloves, and body armour, as well as through the mechanics your build uses. The Crafting Bench can add a modifier to compatible gear if an affix slot, recipe, and resources are available. There is a bench in the hideout and, since 3.29, in towns starting from Act 2. Check the cost and proposed result before confirming.
Compare your overall setup after each change. A ring with cold resistance might solve one problem while removing the Dexterity required by your gems. A small damage gain can be a bad trade if it lowers two resistances. You do not need a perfect item: first fix the weakness that is preventing your character from surviving.
Check your build, equipment, and survivability
Gems, links, and damage
Check your main skill, its supports, and their level and attribute requirements. A Support Gem must be compatible with and linked to the skill; two nearby sockets do not necessarily form a linked group. Also make sure you have enough mana or another resource to use the skill through an extended fight.
In 3.29, any gem fits into an equipment socket regardless of its colour. A red, green, or blue gem gains +10% quality in a socket of the same colour. Matching is a bonus, not an equipment requirement; links, compatibility, and requirements still matter. This change is documented in the official Curse of the Allflame patch notes.
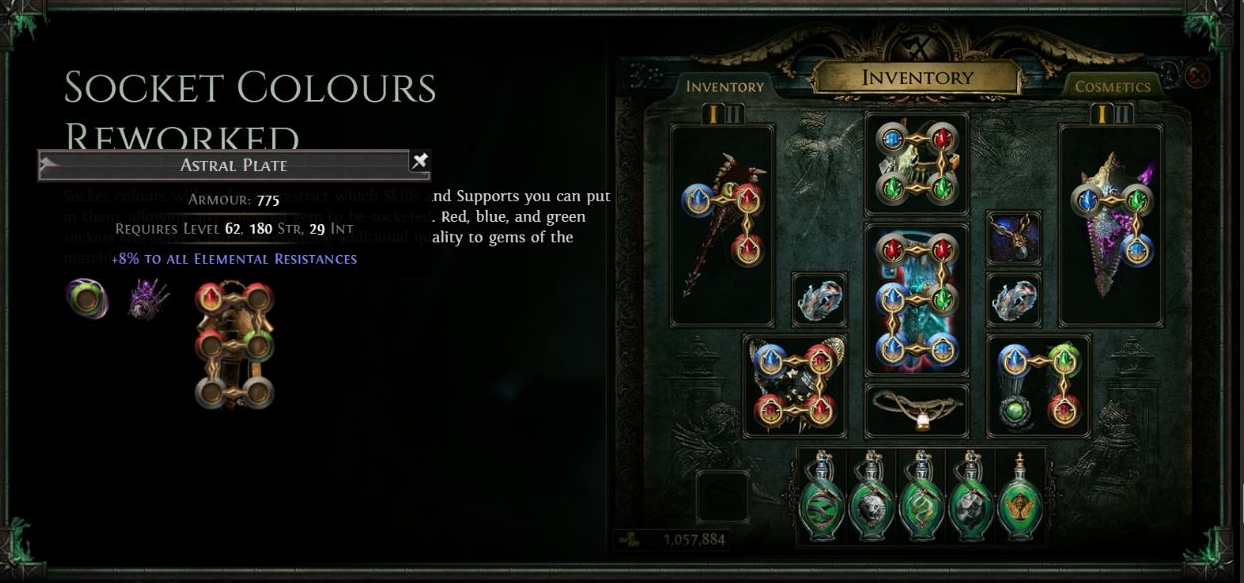
If damage feels low, investigate why before buying gear: gem level, active supports, passive points suited to the damage type, and equipment that actually contributes. Weapon-based attacks often need an up-to-date weapon; many spells depend heavily on gem level. The solution is not the same for every skill. If your guide recommends switching skills when you reach maps, check the conditions for that transition.
For help evaluating the approach you are following, see the first build and league starter guide.
Defenses, flasks, and Ascendancy
Adequate resistances are only part of defense. Life and Energy Shield support different setups; armour mitigates physical damage from hits, evasion avoids certain attacks, and block and Spell Suppression have their own conditions. Regeneration, leech, and flasks help restore resources. Check the layers your build actually uses rather than adding a little of everything without understanding how they work together.
There is no universal life or damage number that every build must reach. Look at the results: dying repeatedly to ordinary enemies suggests weak defenses, insufficient recovery, or incompatible map modifiers. One isolated death does not prove the build has failed. Replace outdated flasks, check the effects of utility flasks, and do not assume recovery will be guaranteed in every situation.
Review Labyrinth completions and Ascendancy points. Normal, Cruel, Merciless, and Eternal each grant points when first completed on that character, but the Eternal Labyrinth has its own requirements and does not need to be done immediately after Kitava. Knowing what you have left to claim is more useful than pushing ahead without accessible benefits. When changing gear, compare useful modifiers, attributes, and links; higher rarity alone does not prove an upgrade.
Find Kirac and unlock your Map Device
In Karui Shores, speak to Helena and follow A Call to Arms into the War Room, where Commander Kirac is waiting. He supplies a Magic Tier 1 Map Item to introduce the Atlas. The quest log and dialogue guide the next objective; the sequence is described in A Call to Arms and the community Atlas documentation.
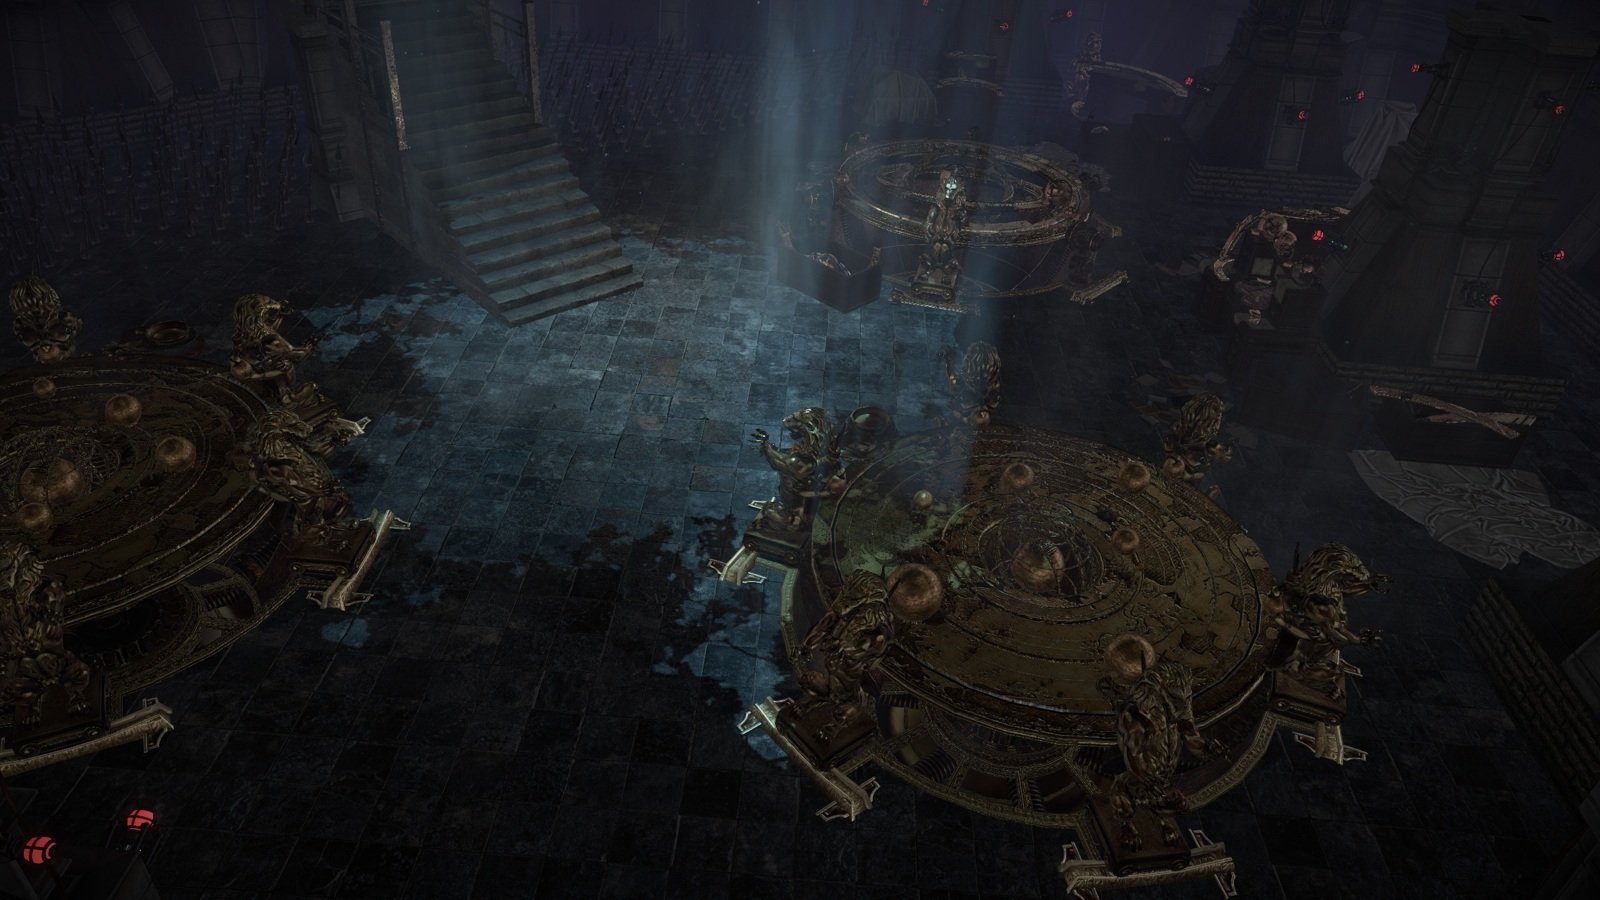
Use the introductory device to open one of the starting areas, defeat the boss, and return to Kirac to turn in the quest. The reward includes a Map Device hideout decoration that you can place in your hideout. Invite Kirac to your hideout and install the device to continue. You do not need to return to the War Room for every map. The opening procedure appears below; first, it helps to distinguish the item you consume from the area it opens.
Understand Map Items, locations, and Tiers
The Atlas of Worlds is the network of endgame areas. Under the structure introduced by 3.28 — Mirage, you begin at the center and reveal connected paths by completing locations. The four normal starting areas are Tier 1. Their arrangement can change between updates: to begin, choose one your Atlas shows as accessible rather than relying on an outdated list of names.
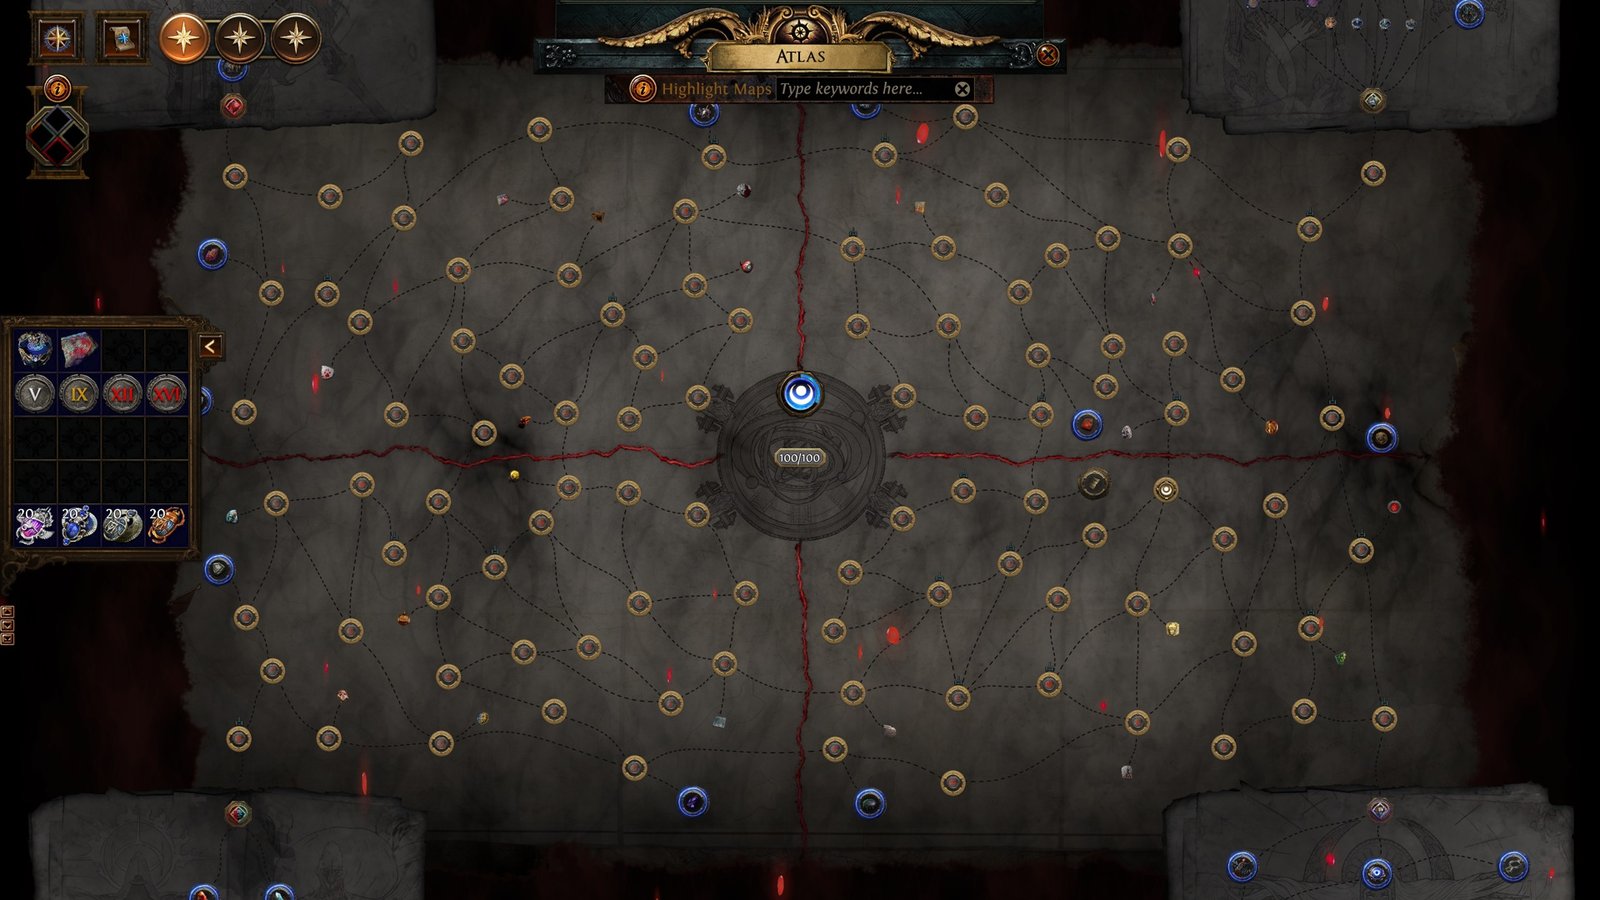
A Map Item is the consumable resource; a location is the area selected on the Atlas. Common Map Items are no longer necessarily tied to a named area. For example, a Tier 3 Map Item can open an accessible ordinary location requiring Tier 3 or lower. You choose the environment in the interface, respecting connections and requirements, rather than having to find an item bearing that area’s name.
| Tier range | Common name | Stage |
|---|---|---|
| Tier 1–5 | White maps | Early progression |
| Tier 6–10 | Yellow maps | Intermediate progression |
| Tier 11–16 | Red maps | Conventional advanced progression |
“White,” “yellow,” and “red” maps usually refer to Tier ranges, not the item’s rarity. A Tier 2 Map Item may be Normal, Magic, or Rare. Rarity affects affixes and determines eligibility for the Atlas bonus:
- Normal: no explicit Magic or Rare rarity modifiers.
- Magic: has magic modifiers; an Orb of Transmutation upgrades a Normal map to Magic.
- Rare: can have more modifiers. An Orb of Alchemy upgrades a Normal item to Rare, potentially increasing the danger.
- Unique: has its own properties and conditions; do not treat it as a generic normal map.
Corrupted is not a fifth rarity. It is an item condition that restricts subsequent modifications and matters for red-map bonus requirements. You do not have to corrupt your first Tier 1 map. Unique maps, Shaper Guardian Maps, Nightmare Maps, Vaal Temple, and fragment-accessed areas can require specific resources; the generic Map Item example does not override their rules.
How to open and complete your first map
With your character prepared and the Map Item provided by Kirac, follow this sequence for a common starting location. The Mirage screenshots illustrate the redesigned interface, not a recommendation to select Lava Lake as your first map.

- Interact with the Map Device. It opens the Atlas interface; during Kirac’s first quest, use the introductory device indicated.
- Select an accessible starting location. Find the center and choose one of the available areas. Check its Tier once selected.
- Insert a compatible Map Item. For an ordinary Tier 1 area, Kirac’s initial Tier 1 item works. An item below the required Tier cannot open a higher-tier location.
- Read the rarity and modifiers. For a Tier 1 bonus, use Magic or higher. If you upgrade a Normal map with an Orb of Transmutation, inspect the new affixes. Do not consume a map incompatible with your build solely for the bonus.
- Activate the device. Verify your selection and choose Activate. The item is consumed, and the device creates portals into the instance.
- Enter and explore. Fight enemies, collect useful resources, and find the boss. You do not need to resolve optional activities before learning how the map works.
- Defeat the required boss. If the location has multiple bosses required for completion, defeat all of them. You do not have to kill every ordinary monster. If you keep dying, investigate before using the remaining entries.
- Check completion and bonus on the Atlas. Hover over the location to inspect its objective. Defeating the boss and earning the bonus are separate checks, explained next.
- Return to Kirac for the first quest. Turn it in, set up the Map Device in your hideout, and choose another accessible location.
An ordinary map opens six portals. Every entry uses one, including re-entry after leaving or dying. Party members can use them too: these are not six independent attempts per player. Once the instance can no longer be accessed, you must consume another item to open a new map. Avoid unnecessary trips and do not count on unlimited portals.
Completion, bonuses, and Atlas points are different things
Completing a location means fulfilling its objective, usually defeating the required boss or bosses. The Atlas Bonus Objective also requires the rarity conditions below. Earning that bonus grants the corresponding passive point for the Atlas tree, not your character’s passive tree. Check each objective directly on the Atlas.
| Tier | Bonus requirement |
|---|---|
| 1–5 | Complete the map at Magic rarity or higher |
| 6–10 | Complete the map at Rare rarity |
| 11–16 | Complete the map at Rare rarity and Corrupted |
Example: you defeated the boss but did not get the bonus
You open a Normal Tier 2 map and defeat its boss. The location is completed, but the bonus requires Magic or higher. To obtain it, use another compatible Map Item with the required rarity and complete the area again. The first item was consumed; upgrading it after the fight is not possible. For Tier 7, Magic is no longer enough: it must be Rare. At Tier 11–16, it must be Rare and Corrupted.
These requirements apply to ordinary maps. Unique maps and other special areas have their own rules. Since 3.28, completing different unique locations grants one Atlas point per location, up to ten, without applying the ordinary-map rarity table to them.
Update 3.28.0e added a visual aid: with the Atlas open, hovering over a Map Item or holding it in your inventory highlights locations whose bonus is still missing and can be earned with that item. A Magic Tier 7 item may highlight eligible areas of Tier 5 or lower, but it cannot satisfy the bonuses for Tiers 6 and 7, which require Rare. The highlighting helps you choose; the location’s actual requirements still take precedence.
Every four completion bonuses also grant +1% Map Item Quantity. Here, the term refers to the quantity of items in map areas, not an exclusive chance to find Map Items. It increases reward potential without guaranteeing that each run returns another map. You need not earn every bonus in one Tier before exploring the next, but it is worth collecting those you can complete safely.
Progress gradually, and know what to do when you run out of maps
Completing a location reveals connected areas. Look at your next options, compare their required Tiers with your available Map Items, and choose a difficulty your build can handle. Finding a high-tier item does not mean you have to use it immediately. A lower-tier route you can finish may teach you more and yield better results than dying repeatedly in an area you entered too soon.
I ran out of Map Items: where can I get more?
First check your inventory and stash: a stored generic item can work for several accessible locations. Also verify whether you are trying to open a Tier above the item you have. You can repeat a completed area with another compatible item to gain experience and additional rewards; repeating does not guarantee a particular outcome.
Kirac’s shop remains an option. After the Atlas overhaul, it offers more map-related resources, lets you refresh the selection with Gold, and generally sells ordinary maps for Gold; special items may cost something else. Check the offer and price before refreshing or buying. Trading with other players is an option in modes that allow it, not a requirement. In SSF, rely on sources permitted by the mode.
Do not look for old Kirac Atlas Missions as a solution to missing maps: they were removed in 3.28, and conventional Scouting Reports stopped dropping and working. This is different from A Call to Arms, which remains the introductory quest. The old Map Device crafting options were also removed. Cartographer’s Chisels no longer drop; existing copies still work, primarily relevant in Standard. Do not turn “apply Chisels” into a requirement for your first map.
Obtaining enough items to keep going is called map sustain. It depends on drops, resources, and progression choices; nothing is guaranteed on any individual run. The complete Atlas and map progression guide examines these routes once you understand your first maps.
Read modifiers before increasing the difficulty
Tier alone does not describe every danger. Modifiers can increase monster damage, reduce your resistances or recovery, and create dangerous combinations. A build relying on regeneration suffers differently from one relying mainly on leech; an affix that is manageable alone can be dangerous alongside another. Read the item before activation, especially after changing its rarity.
If the combination is a bad match, choose another item or, if the map’s condition allows it, change its modifiers with the appropriate currency. For a Magic item, an Orb of Alteration rerolls the affixes. Recheck the result, cost, and compatibility; do not exhaust your resources trying to force a map you could simply leave for later. Corrupted maps have their own restrictions and cannot be altered like ordinary uncorrupted items.
Beware outdated advice about reflect
In 3.29, map modifiers that used to reflect a percentage of physical or elemental damage were reworked to grant Physical or Elemental Thorns to rare monsters. The relevant hit triggers fixed damage reflection per hit for a few seconds, not the previous percentage-based reflect. Hit frequency and defenses matter. Do not treat an old guide’s warning as a literal description of the current item.
Expensive Scarabs and advanced preparation are unnecessary for your first maps. Learn to spot affixes that harm your build before adding difficulty. The maps, modifiers, and Scarabs guide covers that topic in depth without requiring all that setup here.
Spend points on your Atlas passive tree
The character passive tree develops your build; the Atlas passive tree specializes aspects of map activities, difficulty, and rewards. Completion bonuses are an early source of Atlas points. Open the tree, read the nodes, and choose a path connected to the activities you want to encounter. There is no universal beginner allocation.
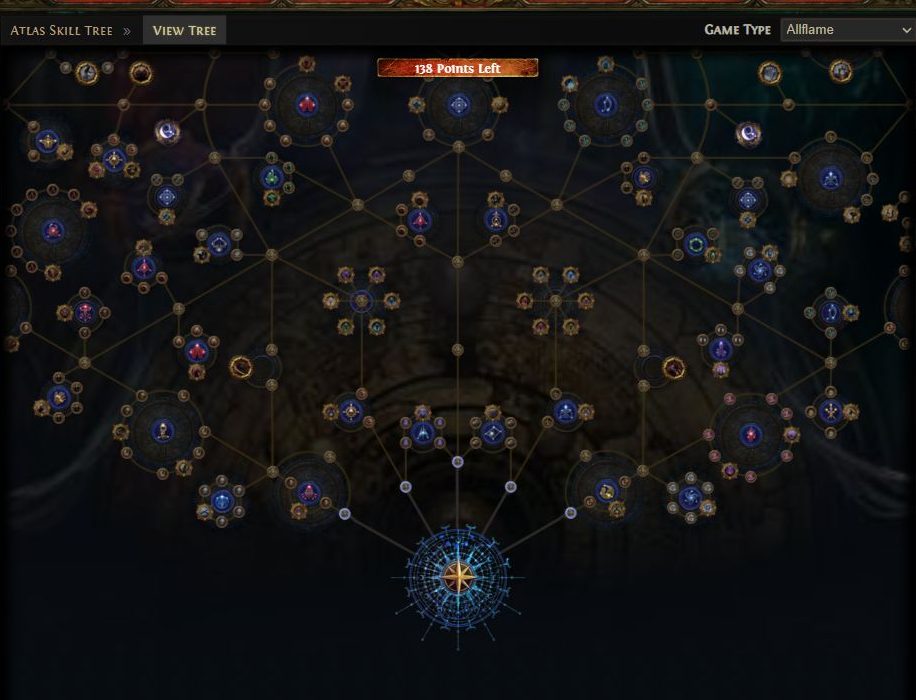
You can refund your choices. Kirac offers Atlas Respecialisation for Gold, with the cost displayed before you confirm; Atlas refund points, such as those from an Orb of Unmaking, are another option. This is separate from refunds on your character’s tree. Before copying a plan, verify its version, available points, and added difficulty. The Atlas passive tree guide explains how to organize this progression.
What can wait: Scarabs, leagues, Voidstones, and bosses
Scarabs are consumables used to modify or promote certain map content according to their own rules. You do not need them to learn your first Tier. Encounters such as Essence, Strongboxes, Expedition, Harvest, Legion, Ritual, Blight, Delirium, and Abyss have their own challenges and rewards; not all of them must appear in every map. Learn about the ones you encounter and see which suit your build.

Other activities use separate access systems: Heist uses contracts and the Rogue Harbour, while Delve involves Niko, the Azurite Mine, and Sulphite. You do not need to abandon your first maps to study every one of these systems. The farming methods catalog can help you choose an activity later; it does not promise fixed earnings.
Voidstones and Pinnacle Bosses belong to later progression. In the redesigned Atlas, the four Voidstones relate to the quadrants and modify Tiers and other effects; you need none to get started. Do not apply outdated boss and reward layouts from guides written before 3.28. First get comfortable with ordinary maps and your build, then study the requirements of specific encounters.
Example of a first endgame session
Imagine someone who has just defeated Kitava and has never opened a map. They use /passives, discover an unclaimed reward, and return to collect it. Their defense panel shows low cold and lightning resistances. They replace some gear and use the bench where a compatible modifier is available, keeping the attributes their gems require. Then they check links, recovery, and Ascendancy instead of trying to buy an entire endgame setup.
At Karui Shores, they speak to Helena and find Kirac in the War Room. They receive the Magic Tier 1 item, open the Map Device, select an initial area, and read the modifiers. Since the item qualifies for the Tier 1 bonus and the combination looks manageable, they activate the portals, explore, and defeat the boss. They return to the Atlas to check two separate results: completion and bonus.
They turn in Kirac’s quest, place the device in the hideout, and examine the newly revealed connections. They store any Map Items they find, choose a compatible next Tier, and compare the gear they picked up against their actual needs. If deaths become frequent, they stop escalating the difficulty and identify the cause. This is an illustrative example, not a ZAUS.GG gameplay test or a promise of drops. The session might end after only a few maps and still have achieved its learning goal.
I cannot progress: quick troubleshooting
Identify the obstacle before spending currency or restarting the character. A map that refuses to open has a different cause from repeated deaths inside it.
| Problem | What to check first |
|---|---|
| The map will not open | Selected accessible location, Map Item at or above the required Tier, and special-area requirements. |
| Ordinary enemies keep killing me | Resistances after Kitava, primary defenses, recovery, and area affixes. Lower the difficulty while fixing the cause. |
| The boss takes too long | Main gem level, compatible linked supports, passives, and a weapon suitable for the skill type. |
| I cannot find the boss | Explore unseen sections and check the area map; layouts vary and there is no universal direction. |
| I beat the boss but did not get the bonus | Rarity required by the Tier, the Corrupted condition on red maps, and all required bosses. |
| I have no Map Items left | Stash, alternative accessible Tiers, Kirac’s shop, and acquisition methods permitted by the mode. |
| My interface looks different | Check the date: 3.28 redesigned the Atlas, and 3.29 changed sockets and other mechanics. |
These problems usually call for adjustments, not deleting a character. Change one thing at a time and compare the result: replacing several items simultaneously makes it harder to see what solved or caused a problem. In trade-enabled modes, a targeted purchase may help; the trade, Faustus, and economy guide explains the tools, but buying items does not replace understanding what your build needs.
Checklist before continuing
- ☐ I claimed Lani’s final reward, used the books, and checked
/passives. - ☐ I reviewed resistances after Kitava, recovery, and my build’s defenses.
- ☐ I checked gems, supports, links, attributes, equipment, and flasks.
- ☐ I know which Labyrinths and Ascendancy points I still need.
- ☐ I found Kirac and followed A Call to Arms.
- ☐ I chose an accessible location and compatible Map Item and read its modifiers.
- ☐ I completed the map objective and separately checked the Atlas bonus.
- ☐ I turned in the introductory quest and set up the Map Device in my hideout.
- ☐ I identified the next accessible location and one concrete character upgrade.
This checklist does not require perfect gear or unlocking the entire endgame. If you can already complete maps consistently, choose your next guide based on what you need: builds, Atlas progression, the Atlas tree, or modifiers. The goal now is to understand your next step and keep improving, without making the start of the endgame feel like an obligation to do everything at once.
About the Author